Kitchen
cabinets
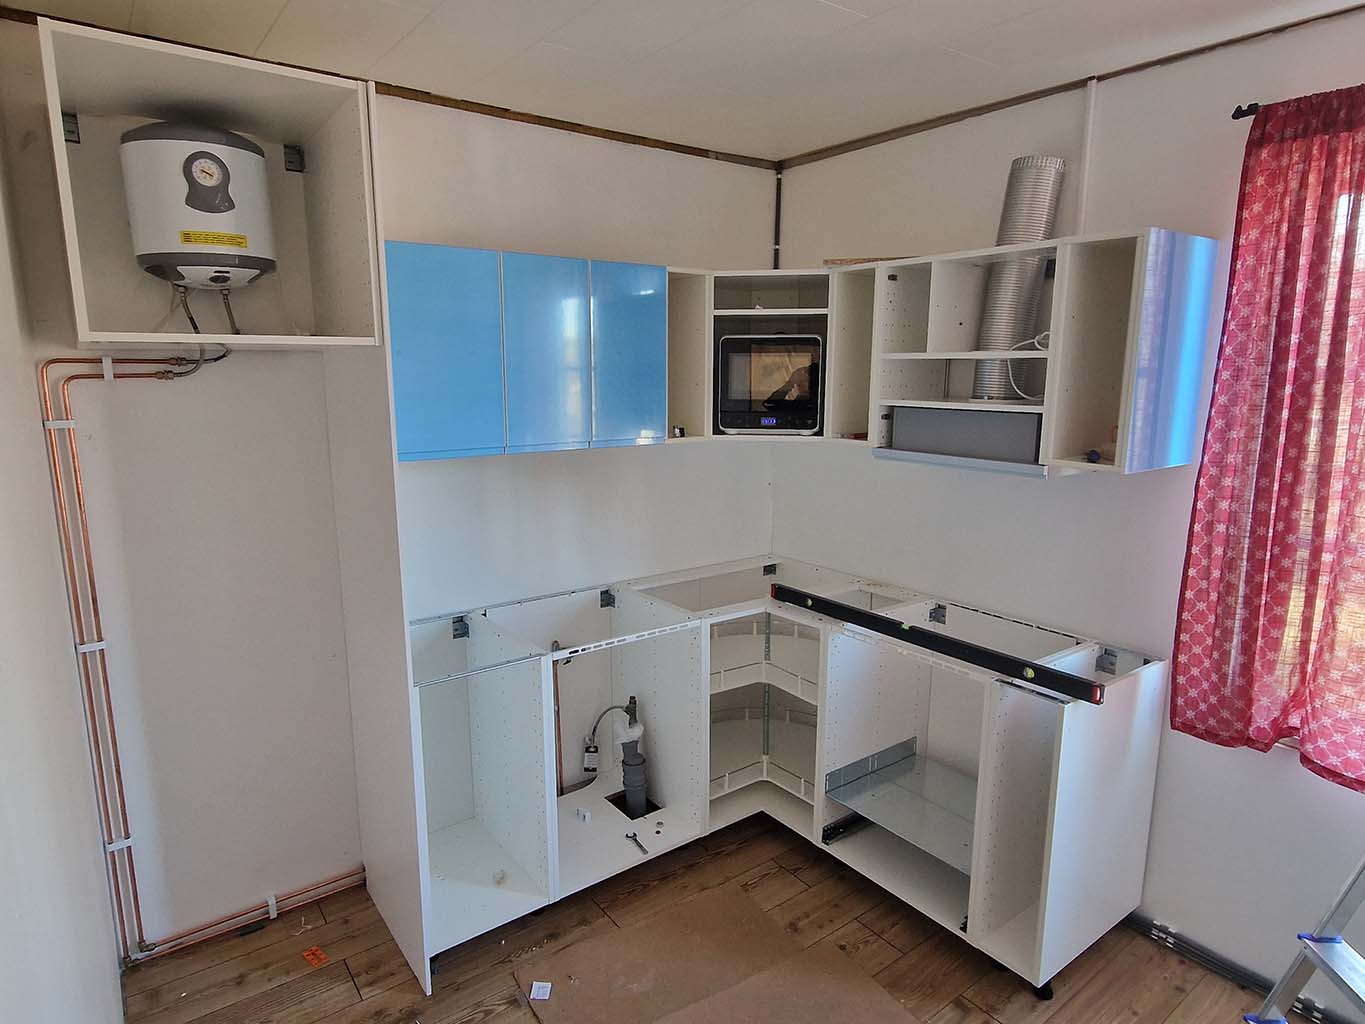
Setting up the new interior
Same as for the roof, I want light and bright surfaces
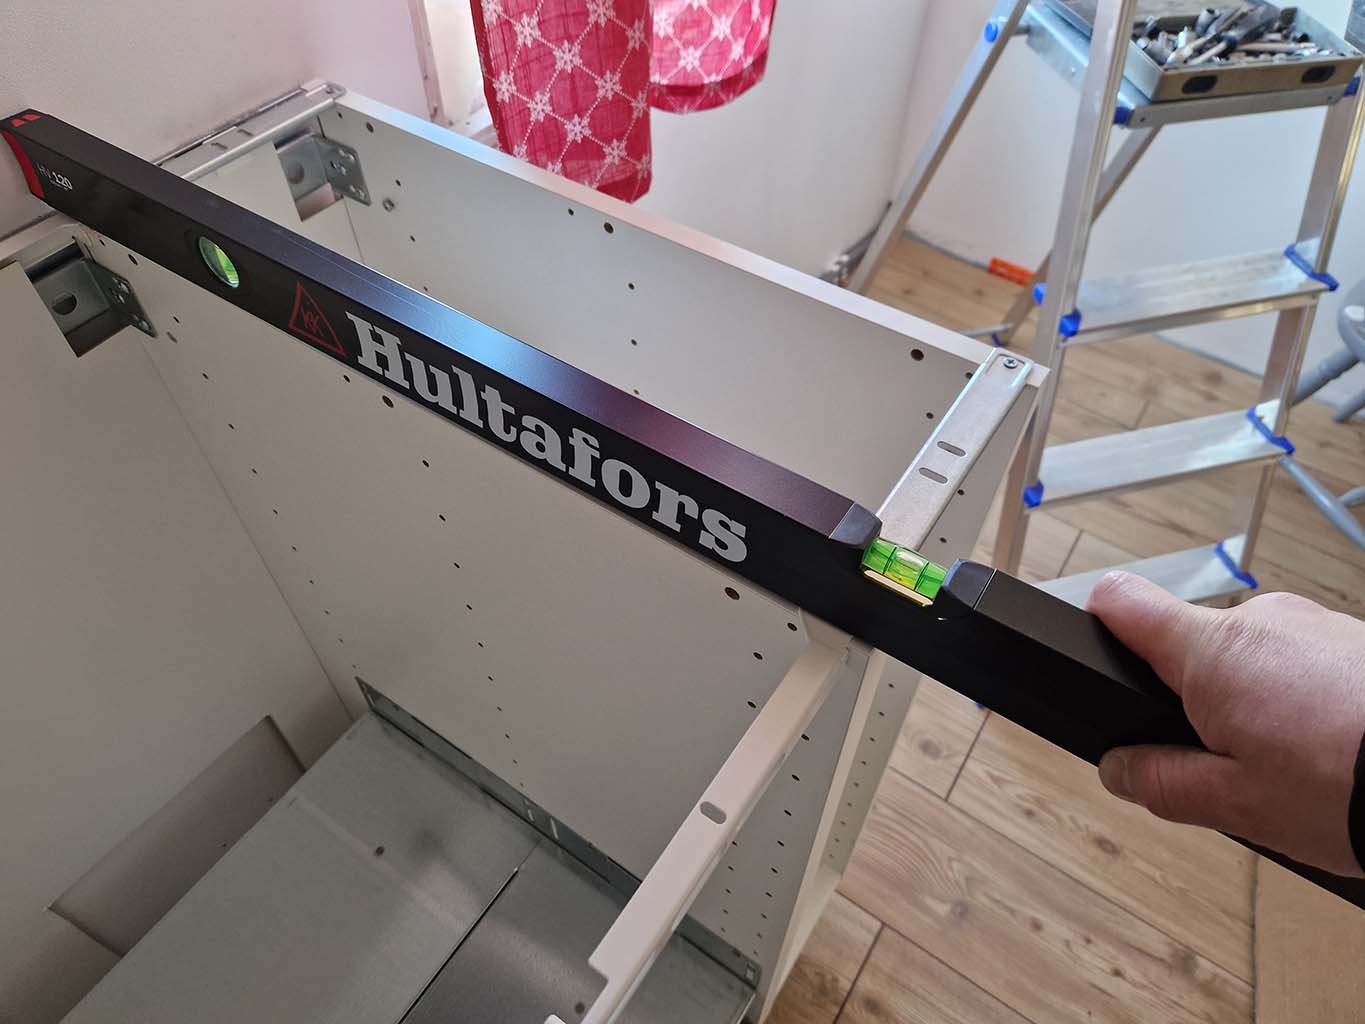
The walls are a bit skewed as well as bent outwards, the corner is somewhat 92°.
Gap will be adjuste with track saw for the countertops, for both directions.
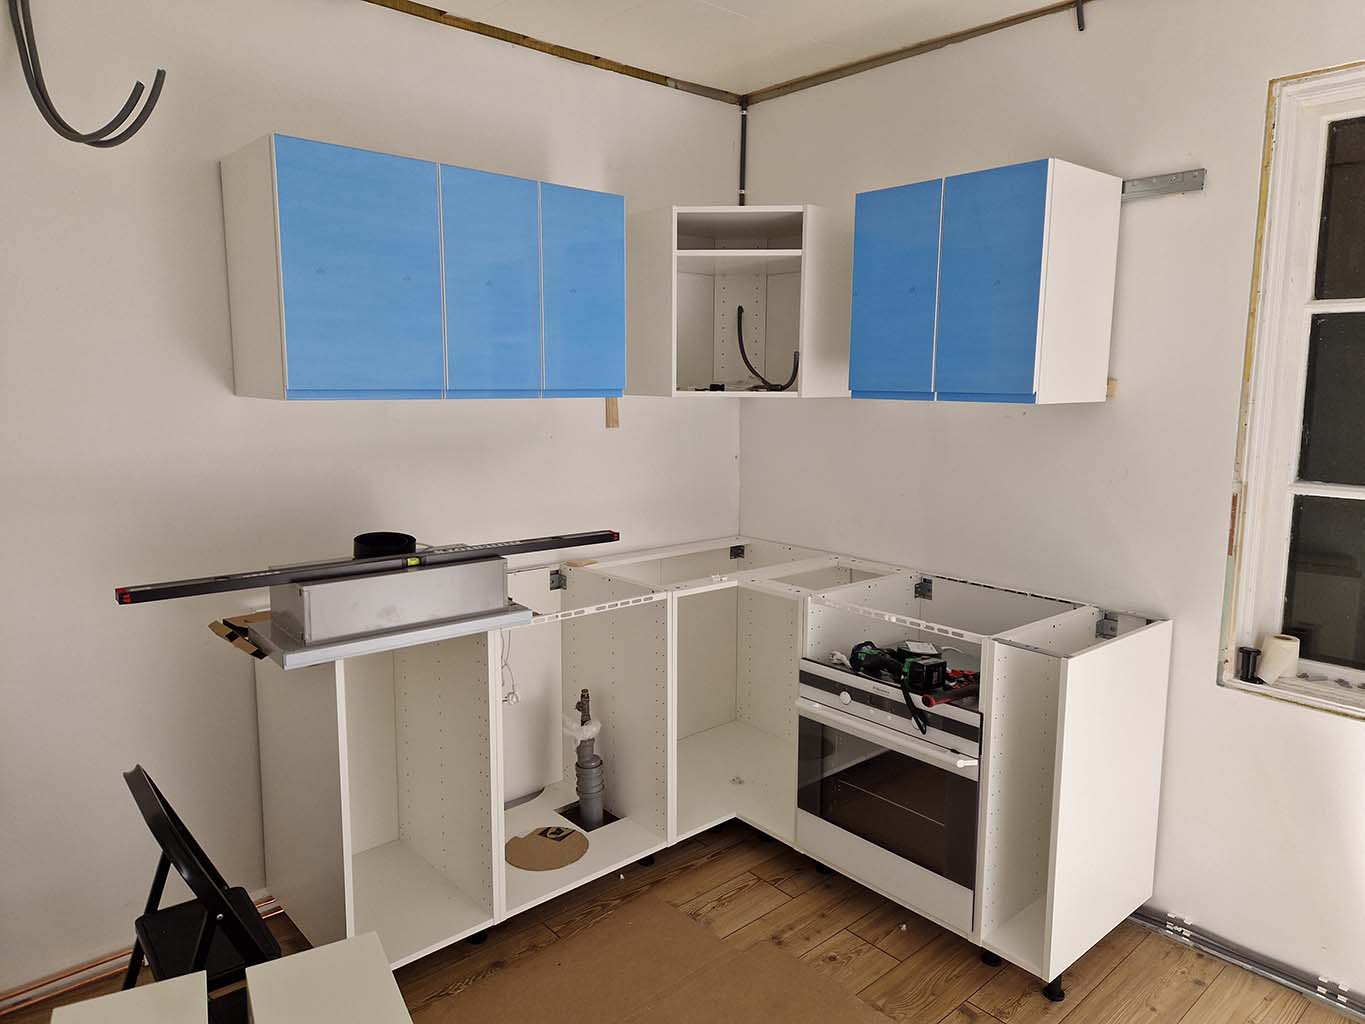
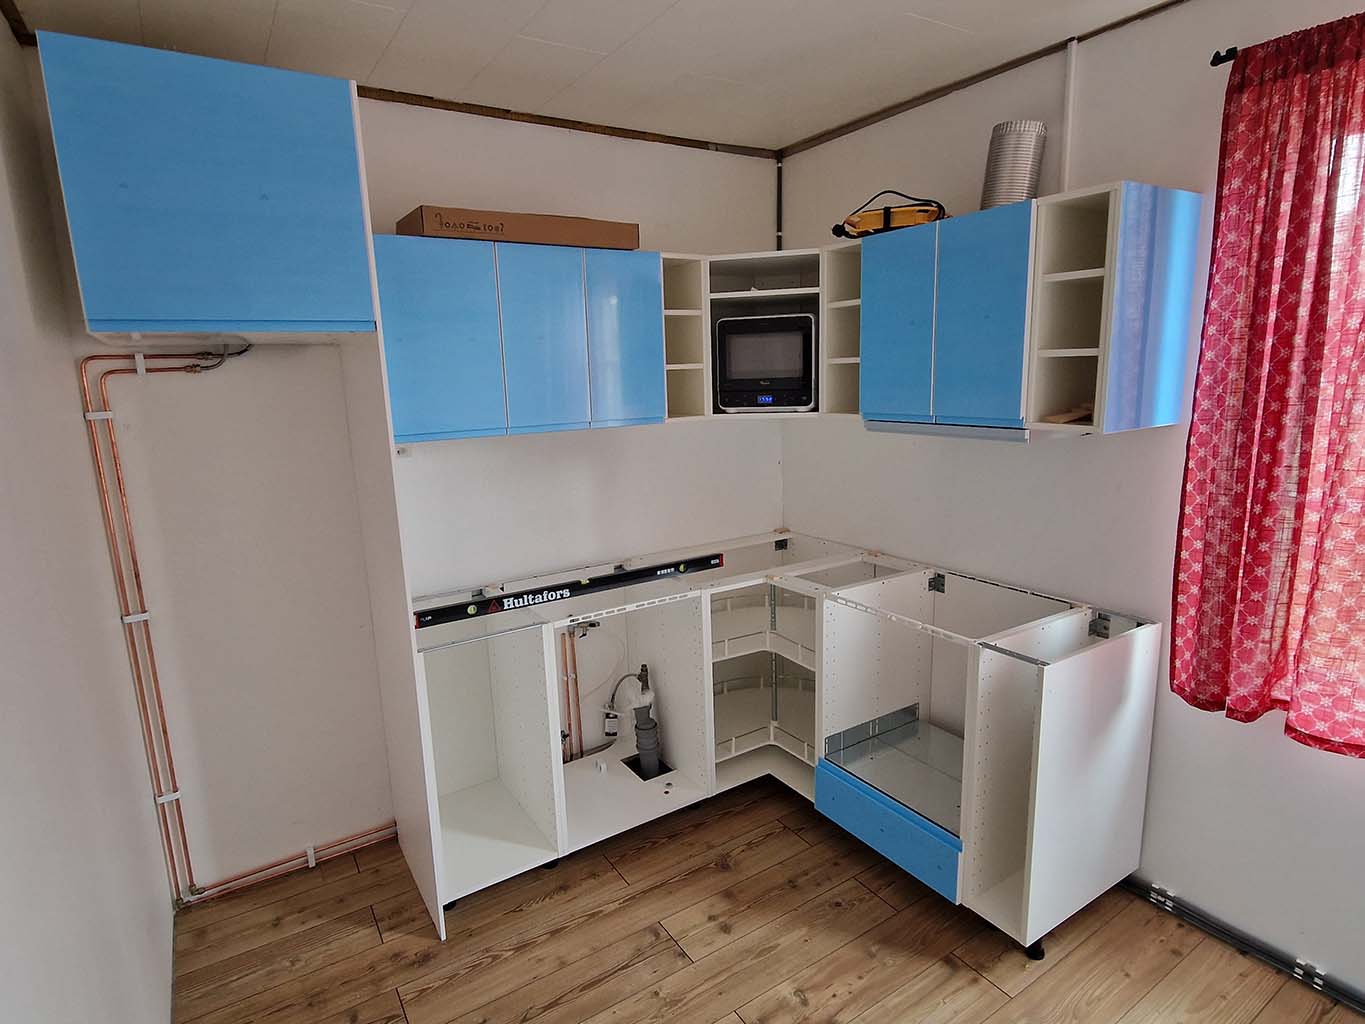
Wanted to start by checking that CAD matches reality, started with prebuilding three cabinets to leans agains the walls
Where possible, blue protective film is left in place untill all is done.
-20241017
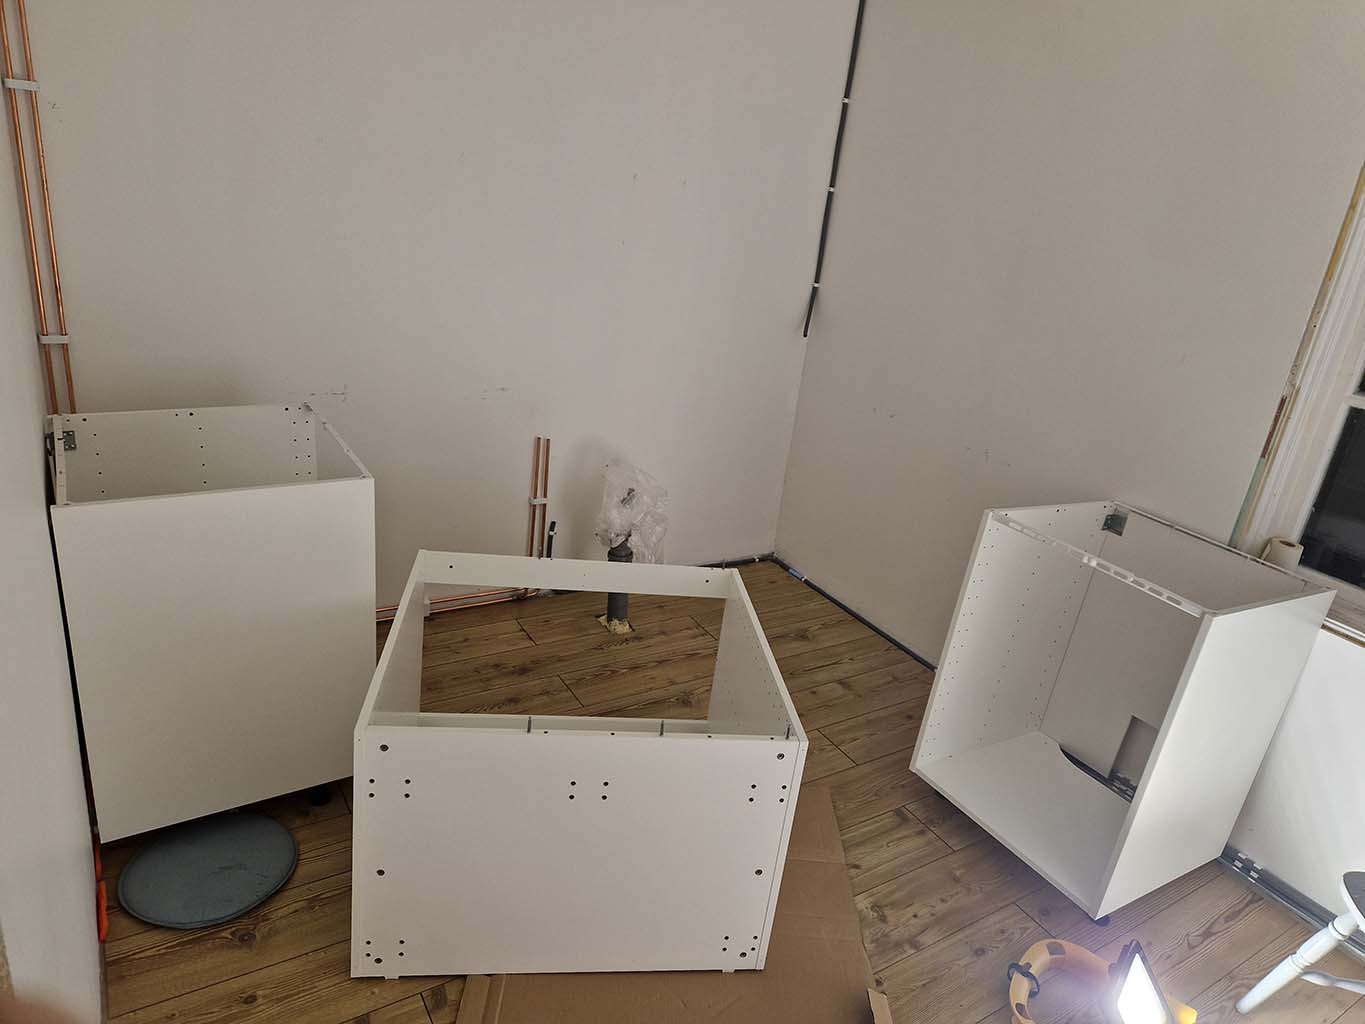
Just testing fitment, feet first.
The first impression is positive, it will be easily accesible and airy.
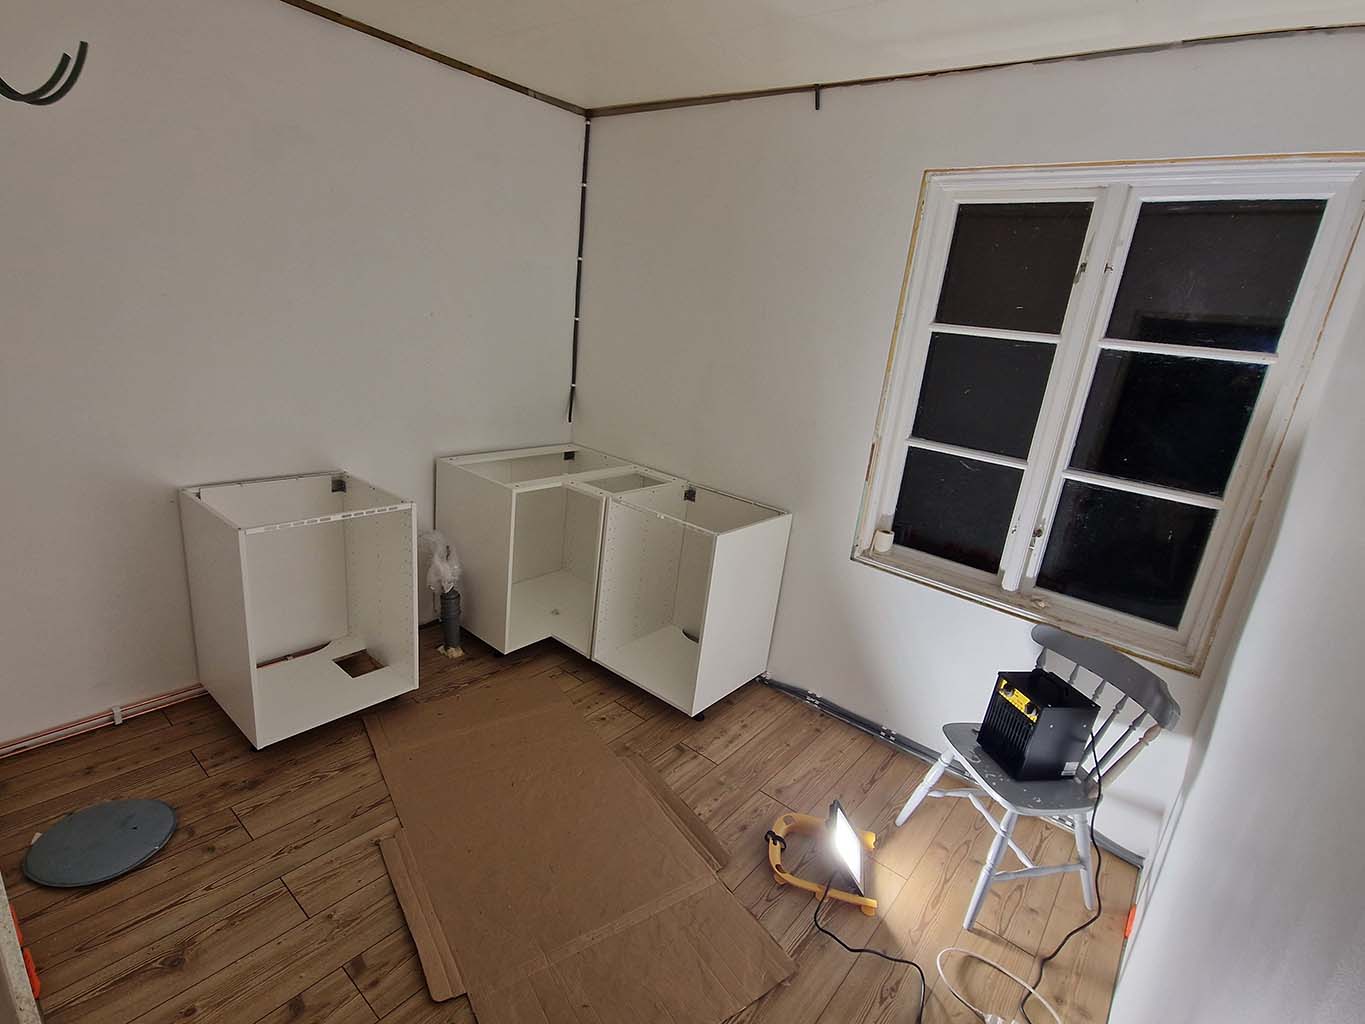
Big window is great for lighting.
-20241019
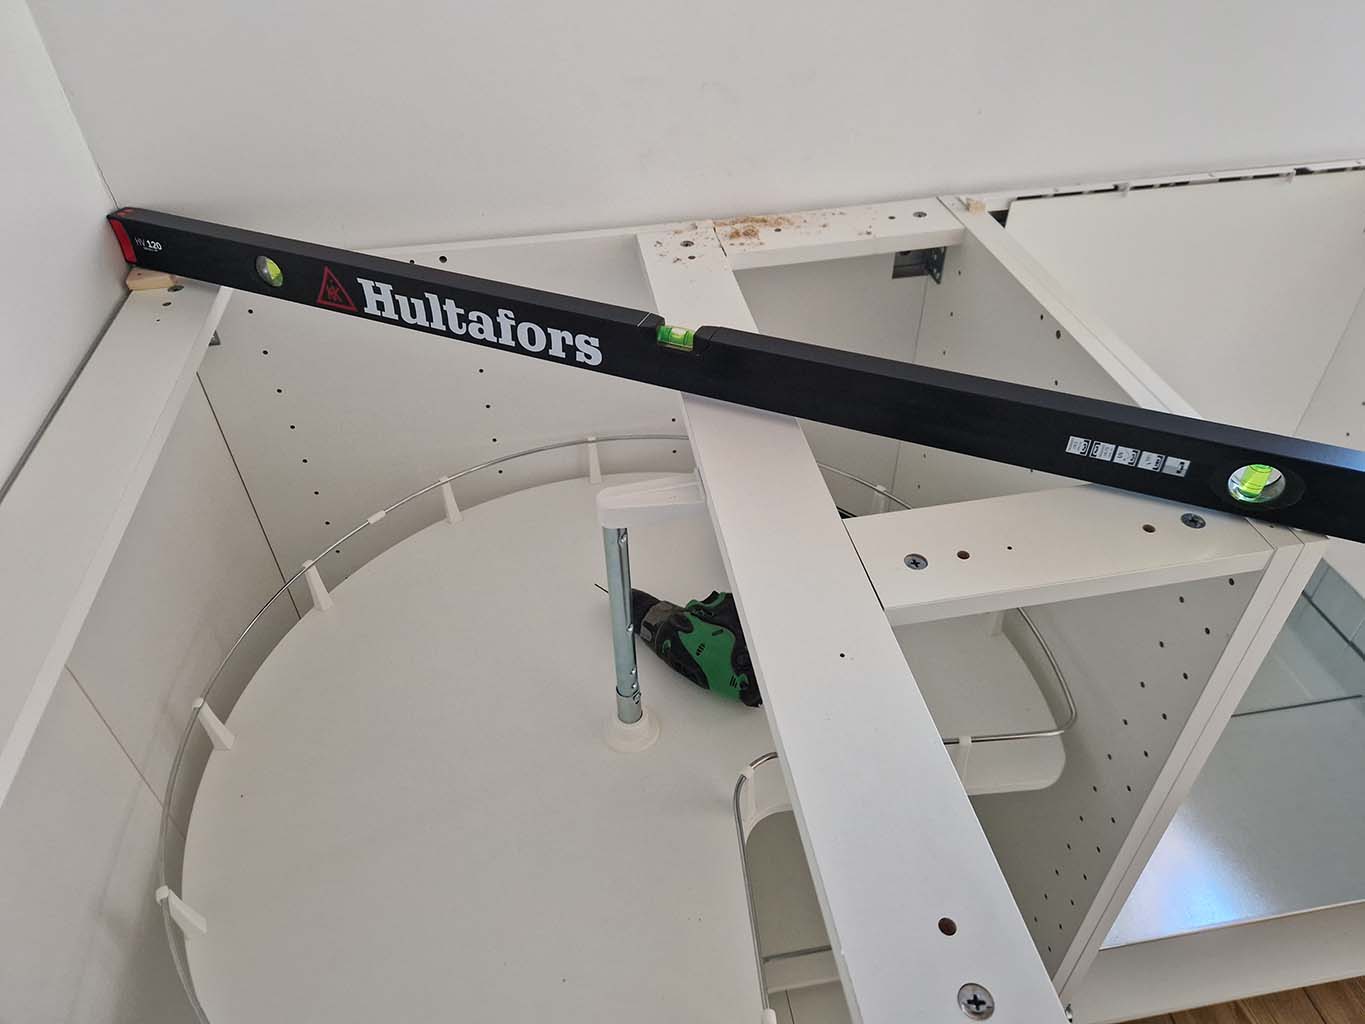
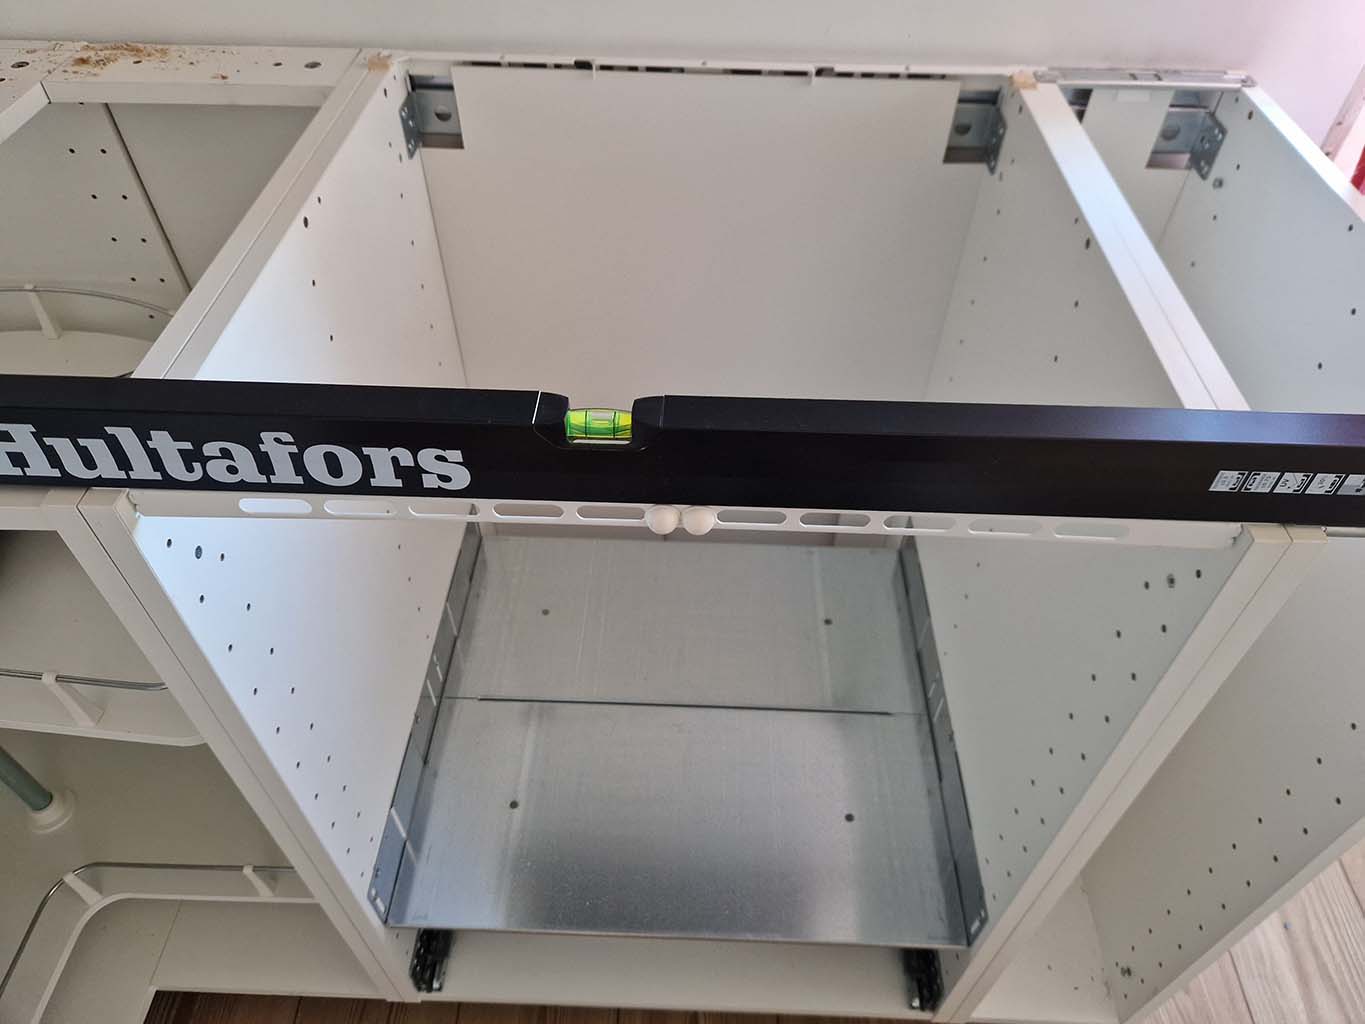
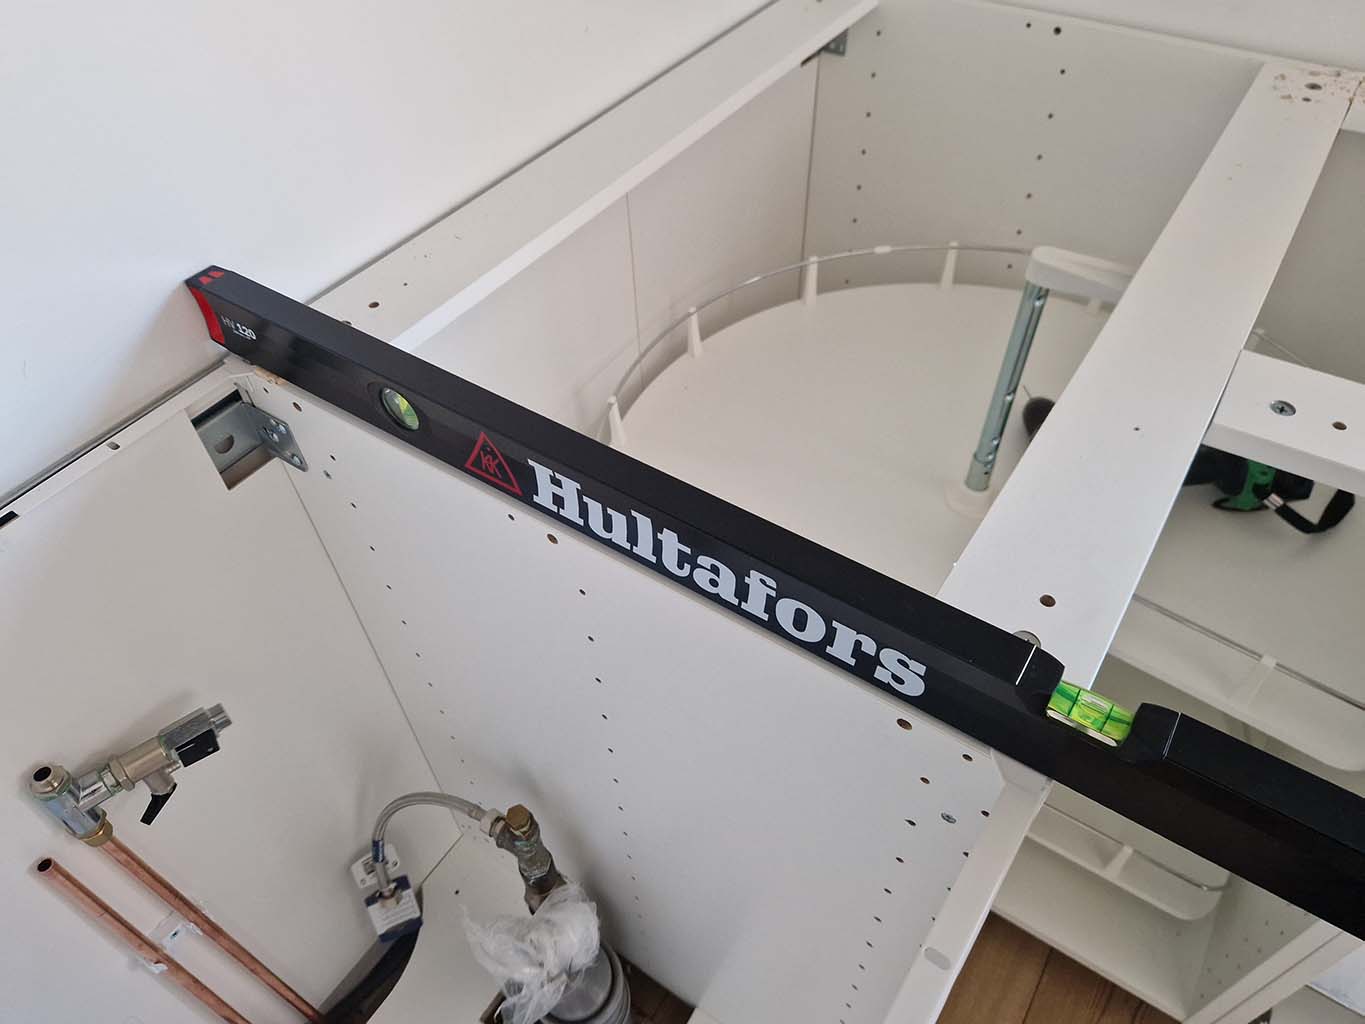
Mounted the first wall mount, checked level.
allowed for 9cm, bottom of cabinet to floor.
Extremely clear walls are not squared up.
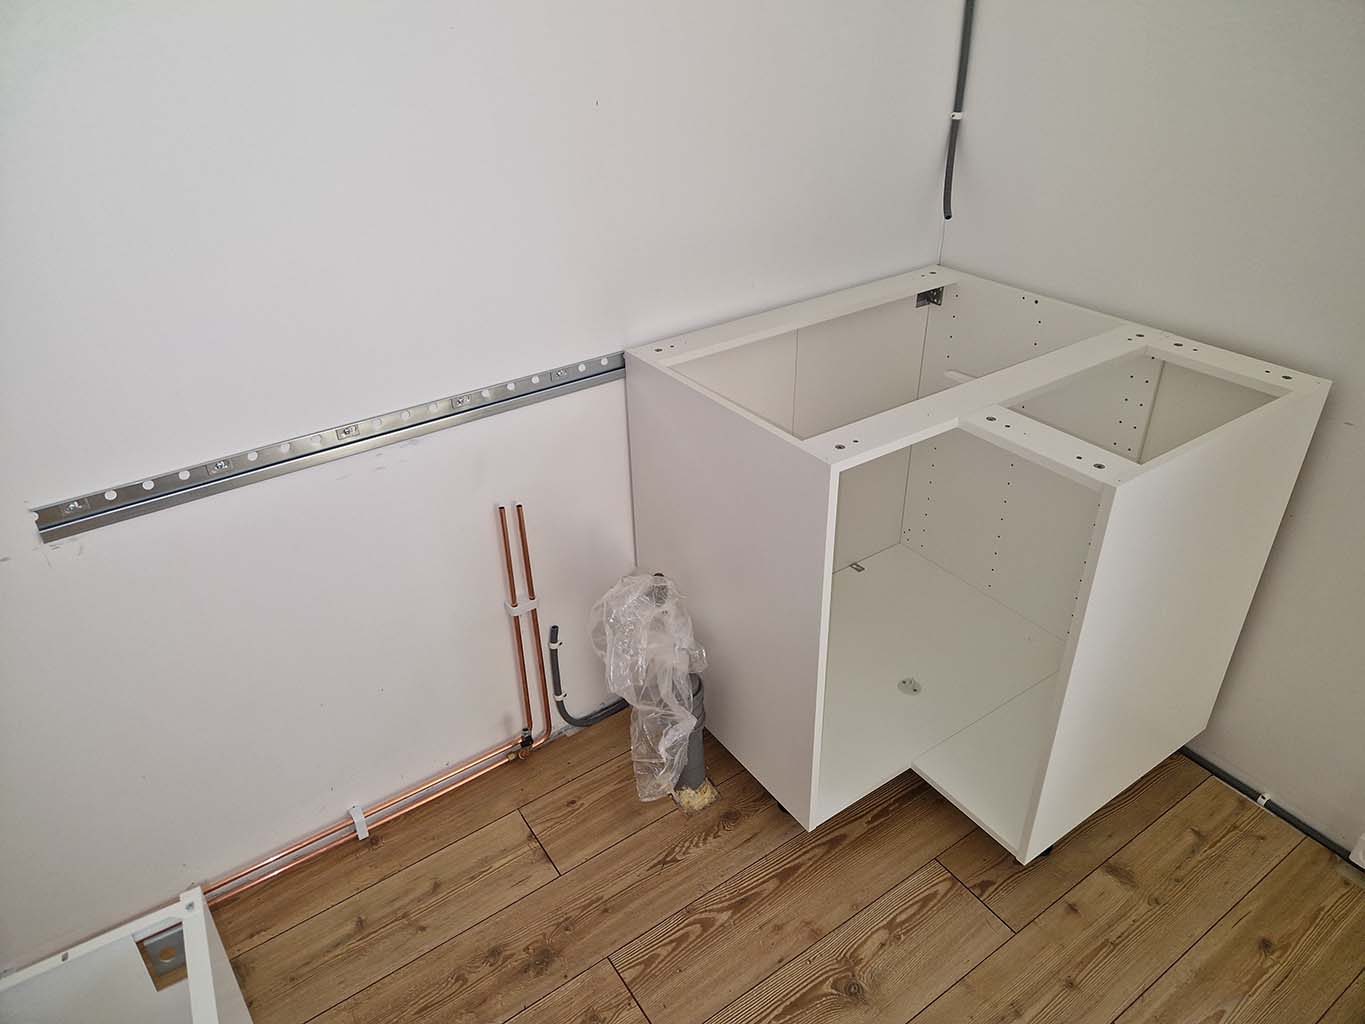
Clearance for waterworks is ok.
-20241020
Measurements and cutouts for drain was done.
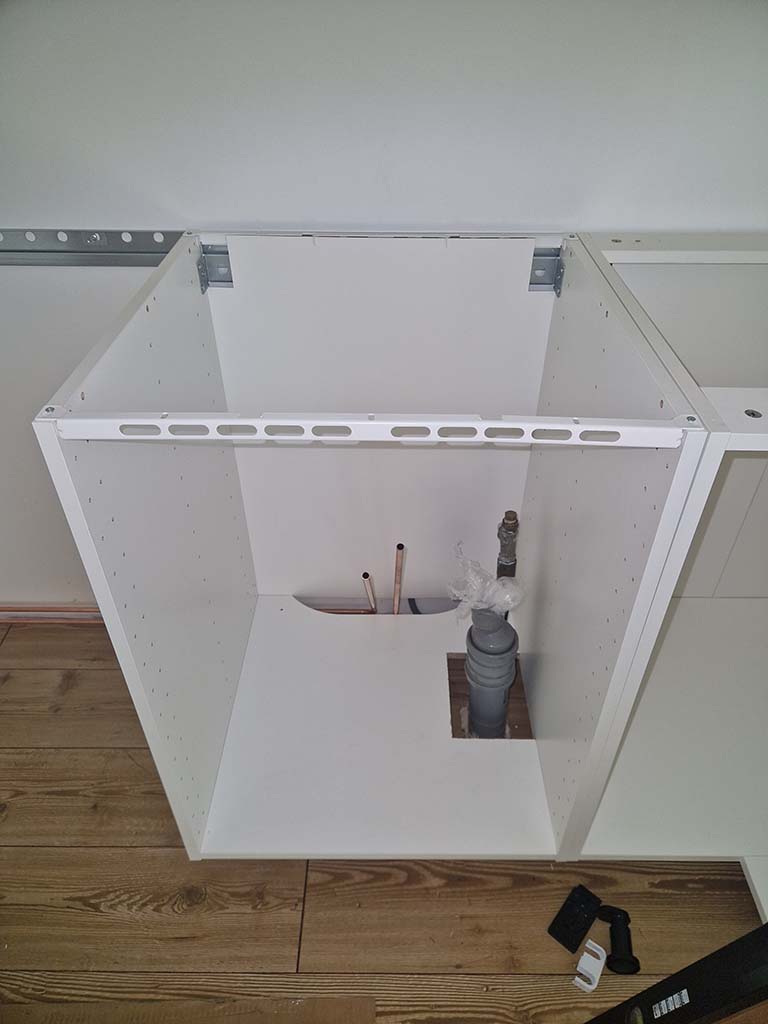
Drain has good clearance.
Built the top corner cabinet to testfit microwave oven
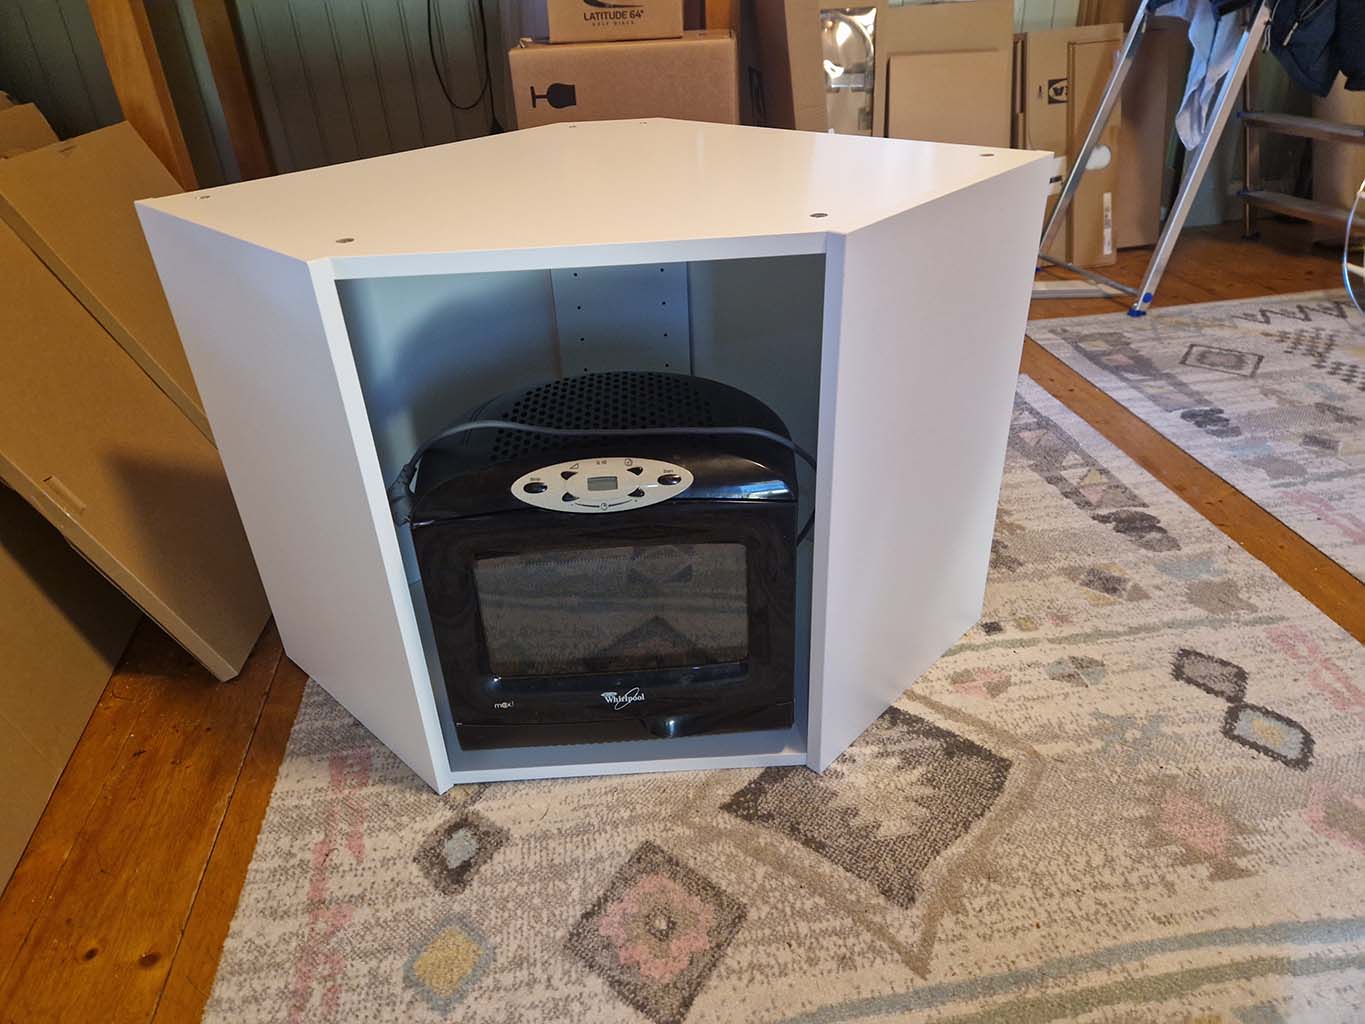
Somewhat hard to reach controls.
-20241023
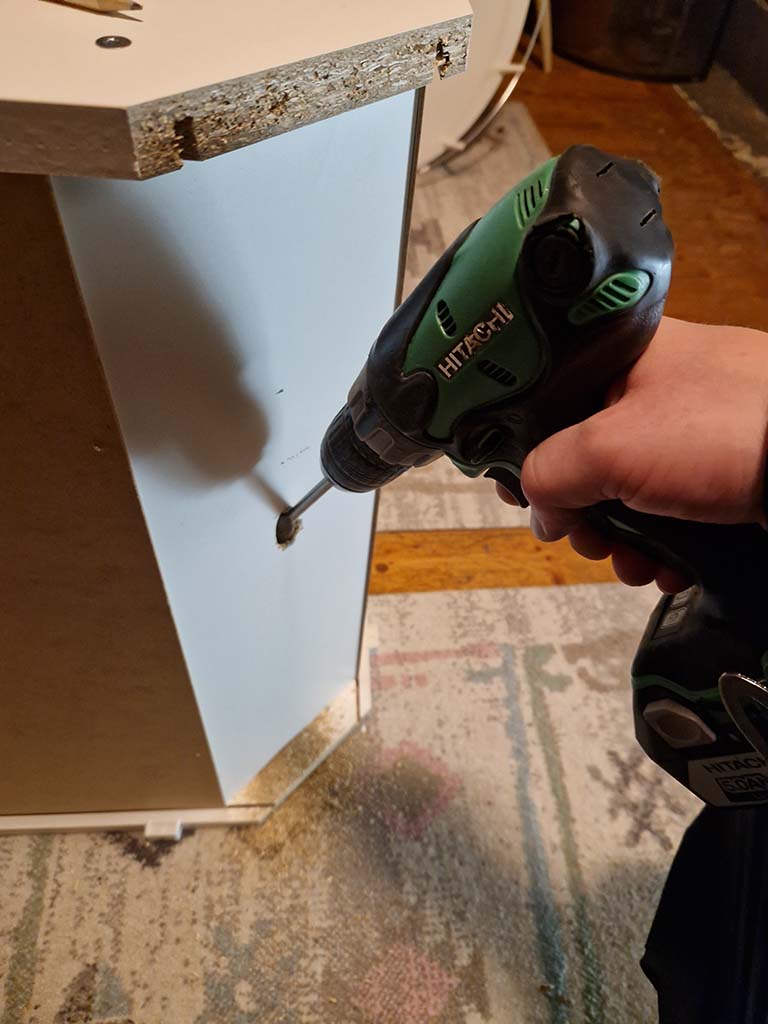
Preparation for wire routing was done in several areas.
the top corner cabinet drilled with anglrd hole.
First row of panel.
Corrugated tubing channel.
Tube routed from back of cabinet.
Used a string wrapped around the tube, pulled it through
while lifting the cabinet in place.
Routing fits nicely.
-20241024
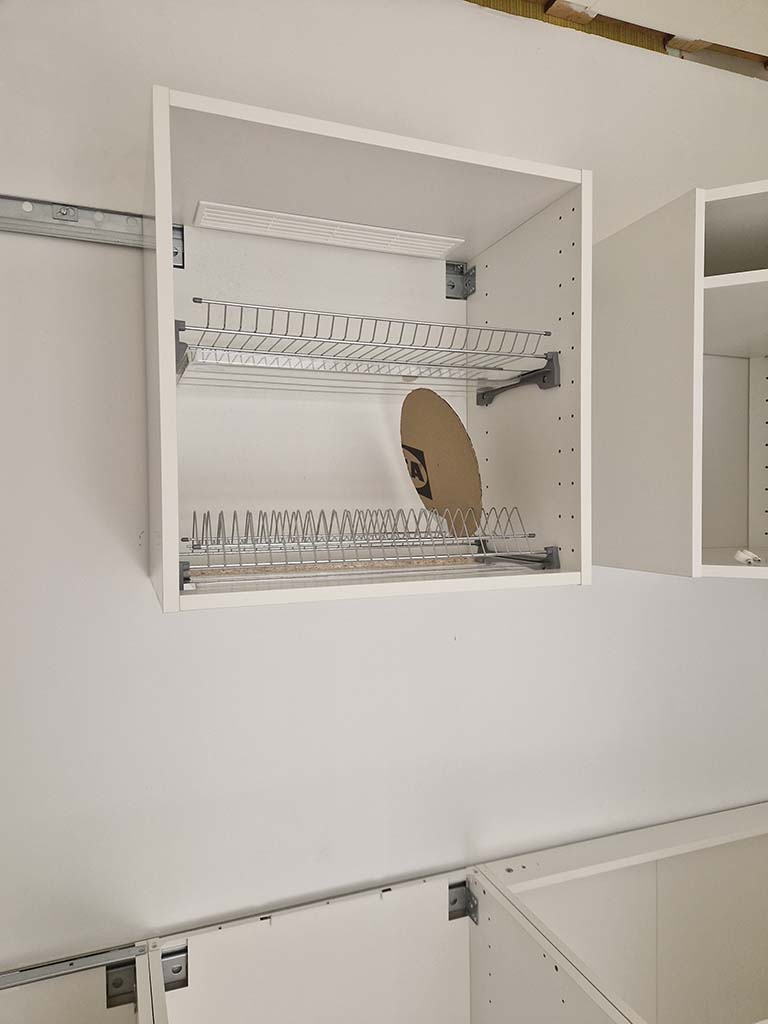
Time for drying cabinet.
The setup is typical for finnish style, cups and pplates etc. will be dried inside the cabinet, not the countertop.
Will definetly help with keeping clutter away.
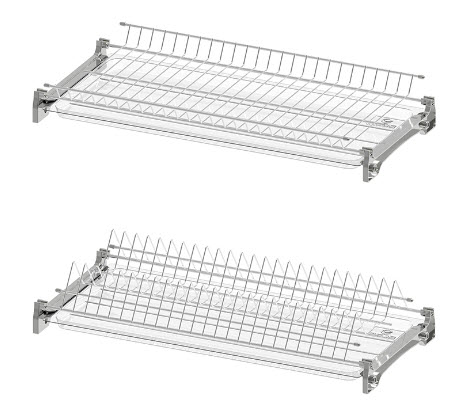
Perfectly sized for 600mm cabinet.
Need to omit lowest part of cabinet to allow for ventilation,

Adding mounts.
On top, a vent is needed, want to keep dust out, så an overlapping mocdel was chosen
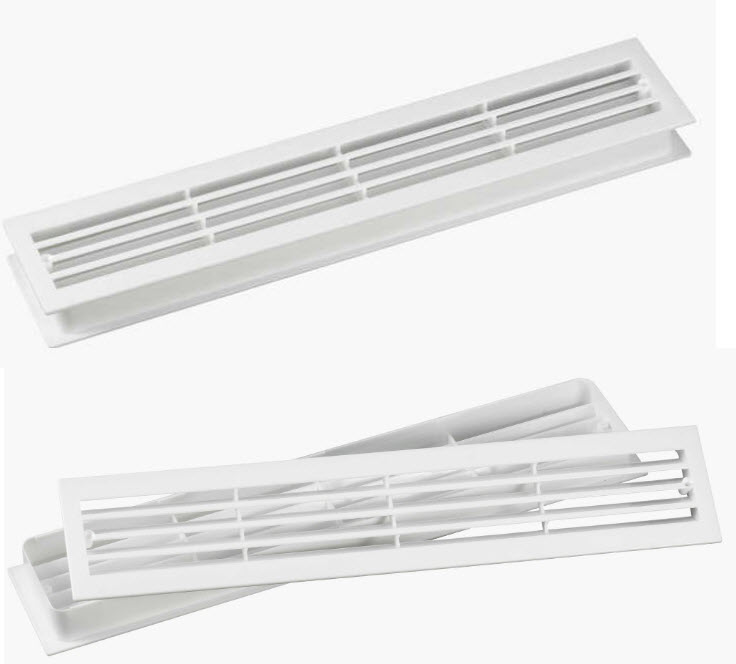
Hole needed, top of cabinet.
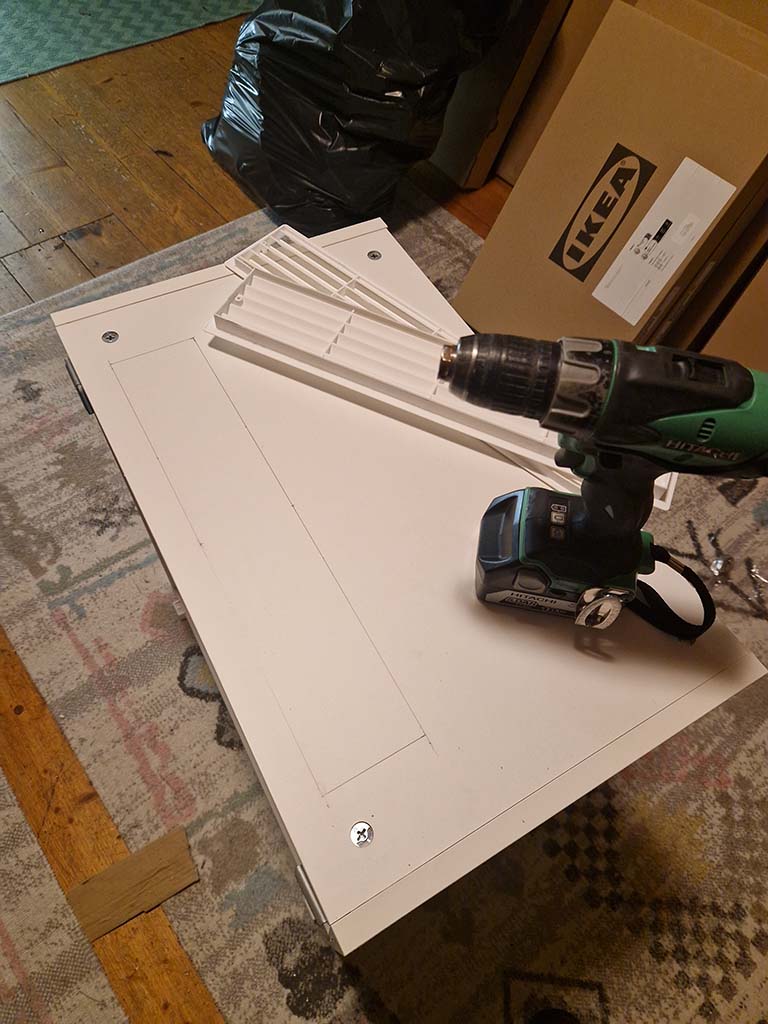
Some lines to cut.
Testfit with platter analog.
-20241027
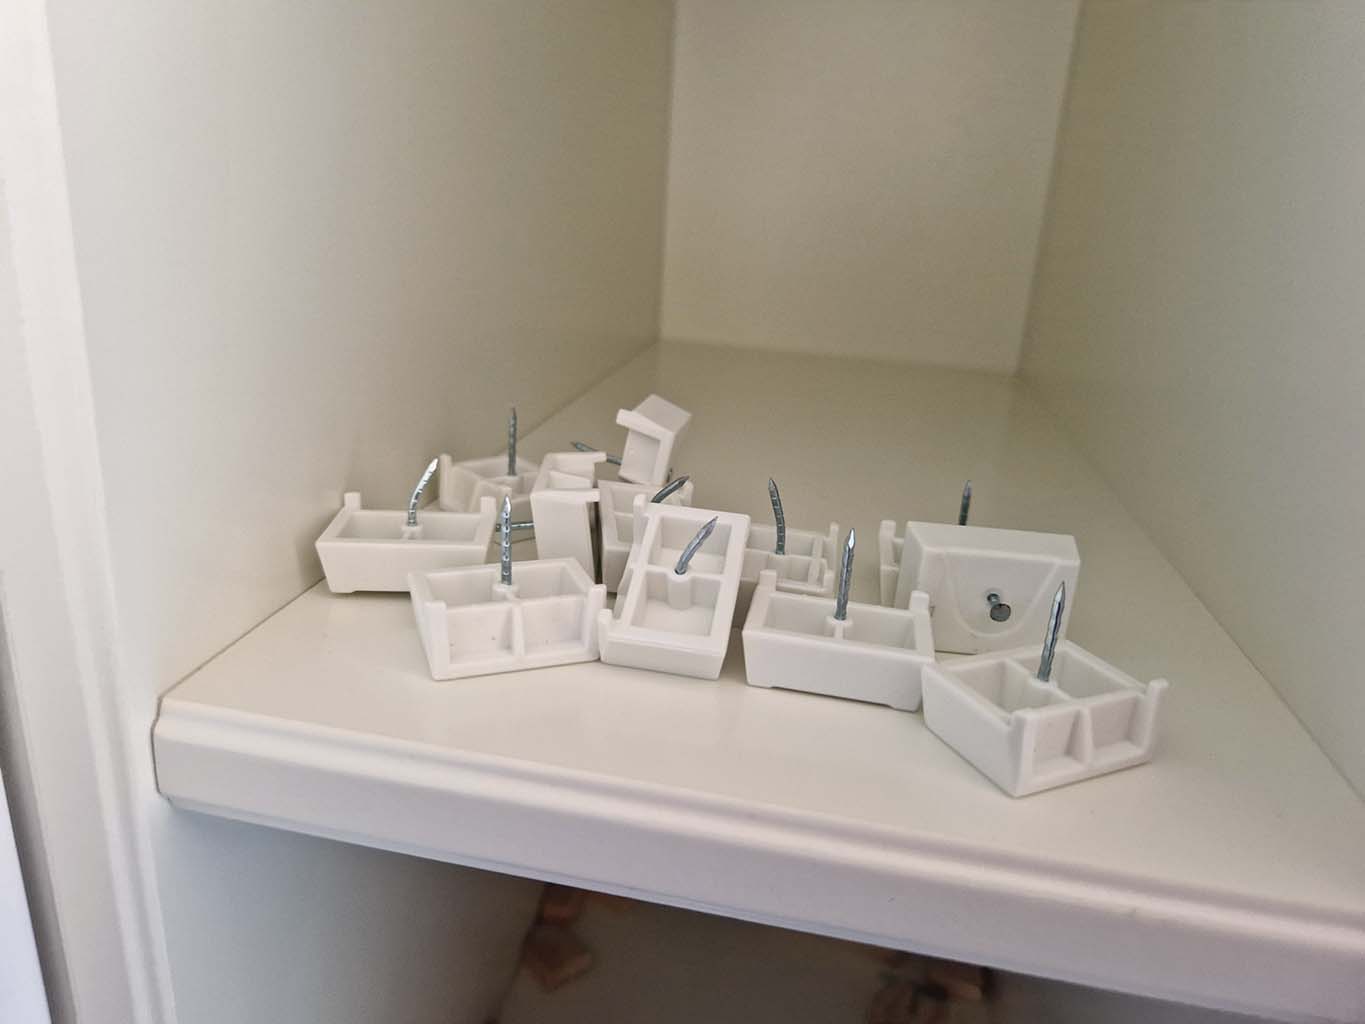
To get the level correct-ish, modifications and custom made standoffs had to be made for all cabinets.
Customizing standoffs.
-20241029
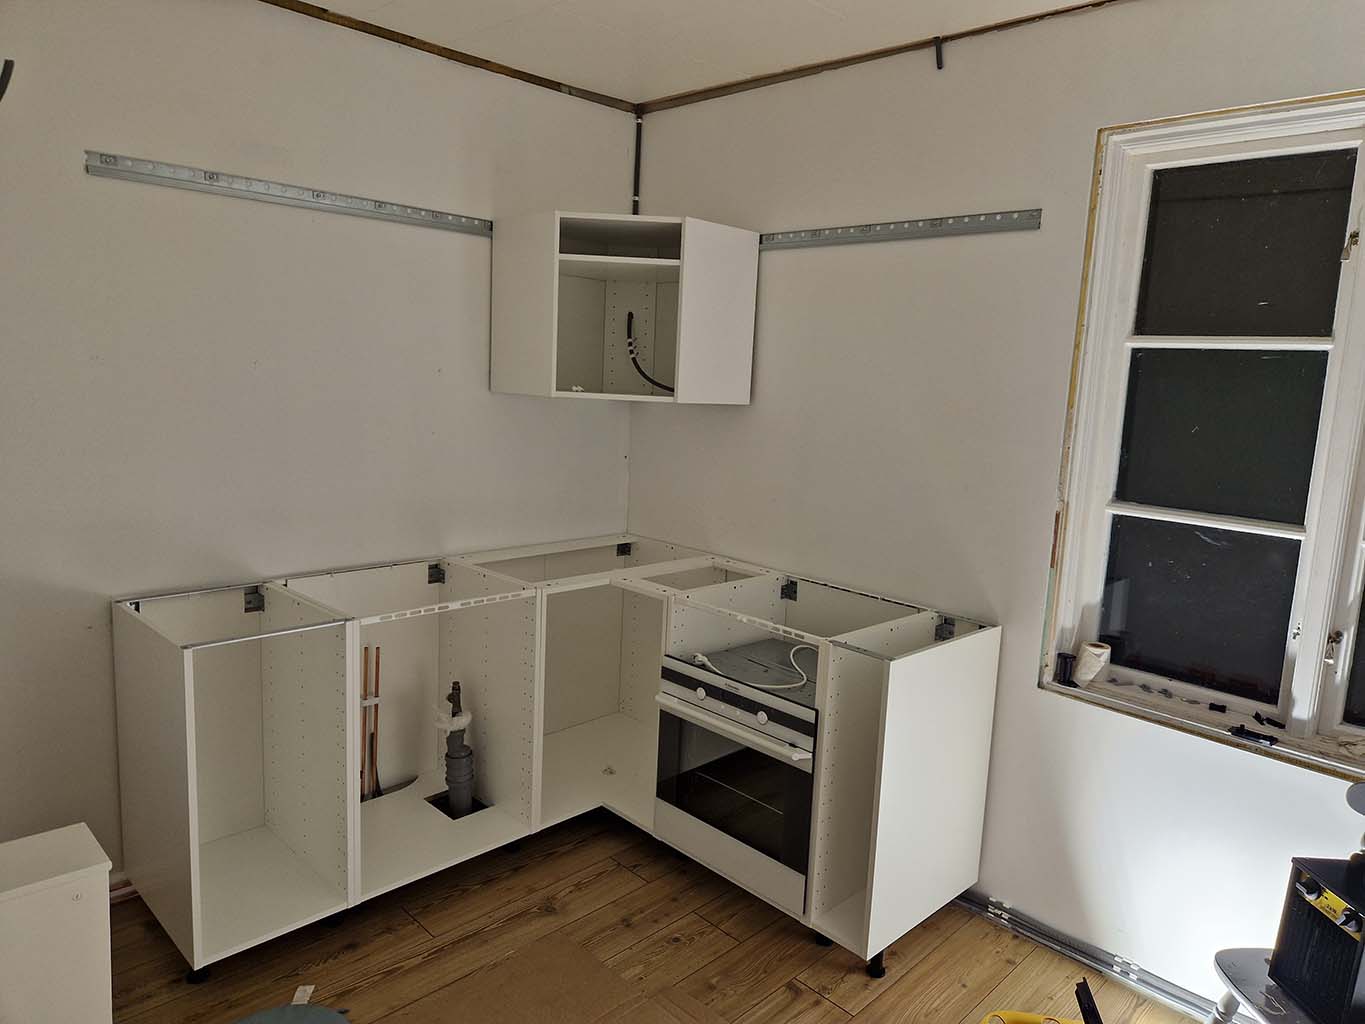
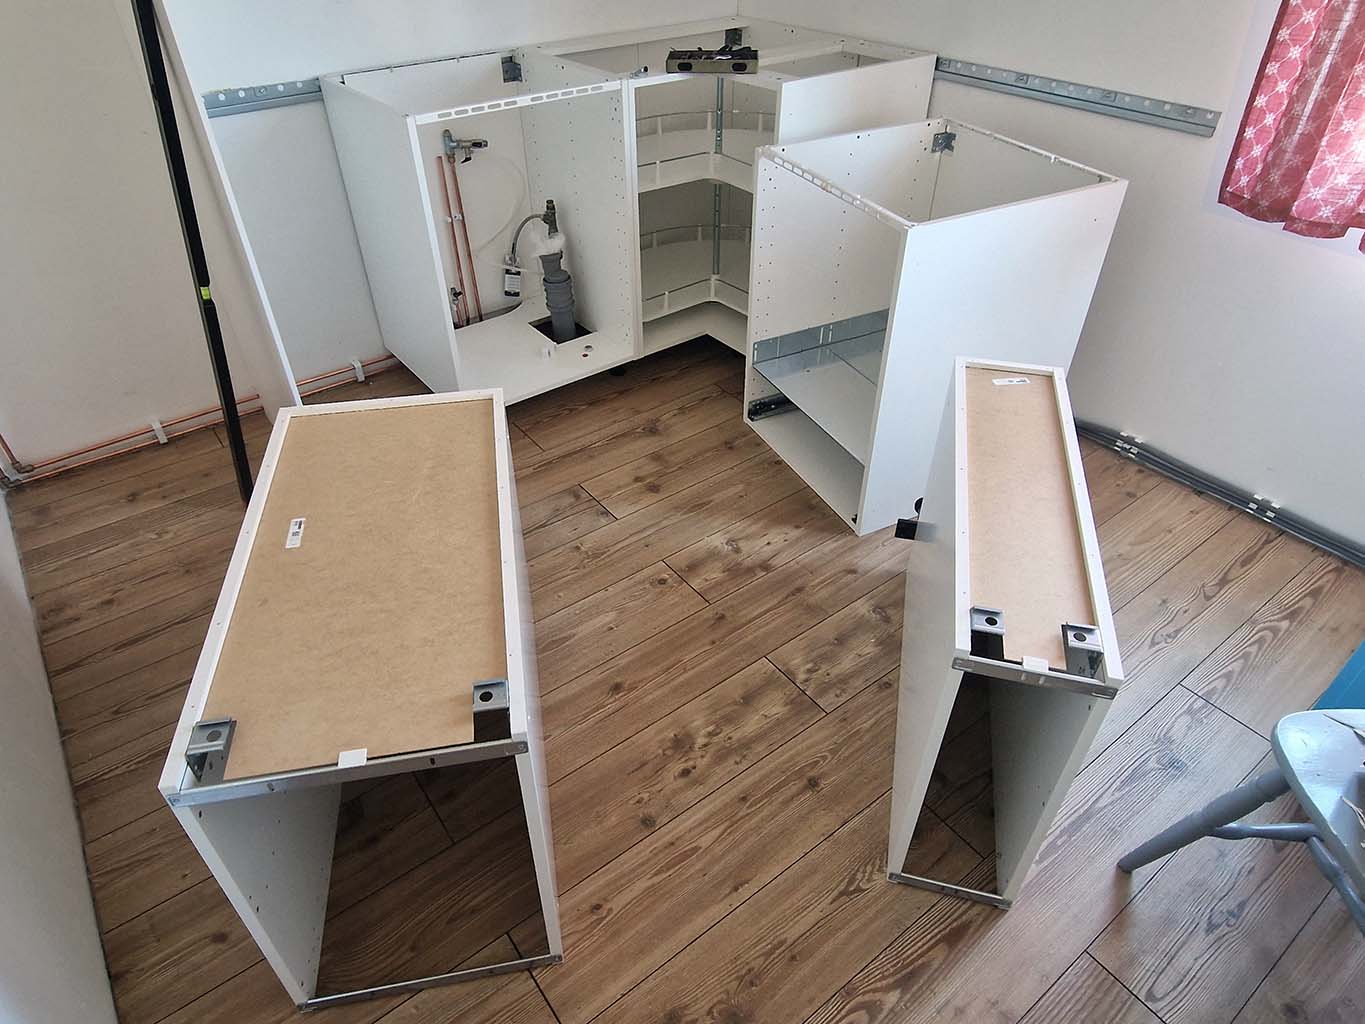
A testmount of up to date build of cabinets.
The tiny inbetweeners can be bult now.
Time to add small cabinets.
-20241031
Three smaller cabinets to fill the gaps erer built and can not be mounted on the wall rails,
they need to be directly screwed into the side cabinets.
Tightening the cabinets.
This tiny tool is excellent.
Aligning with quick clamps
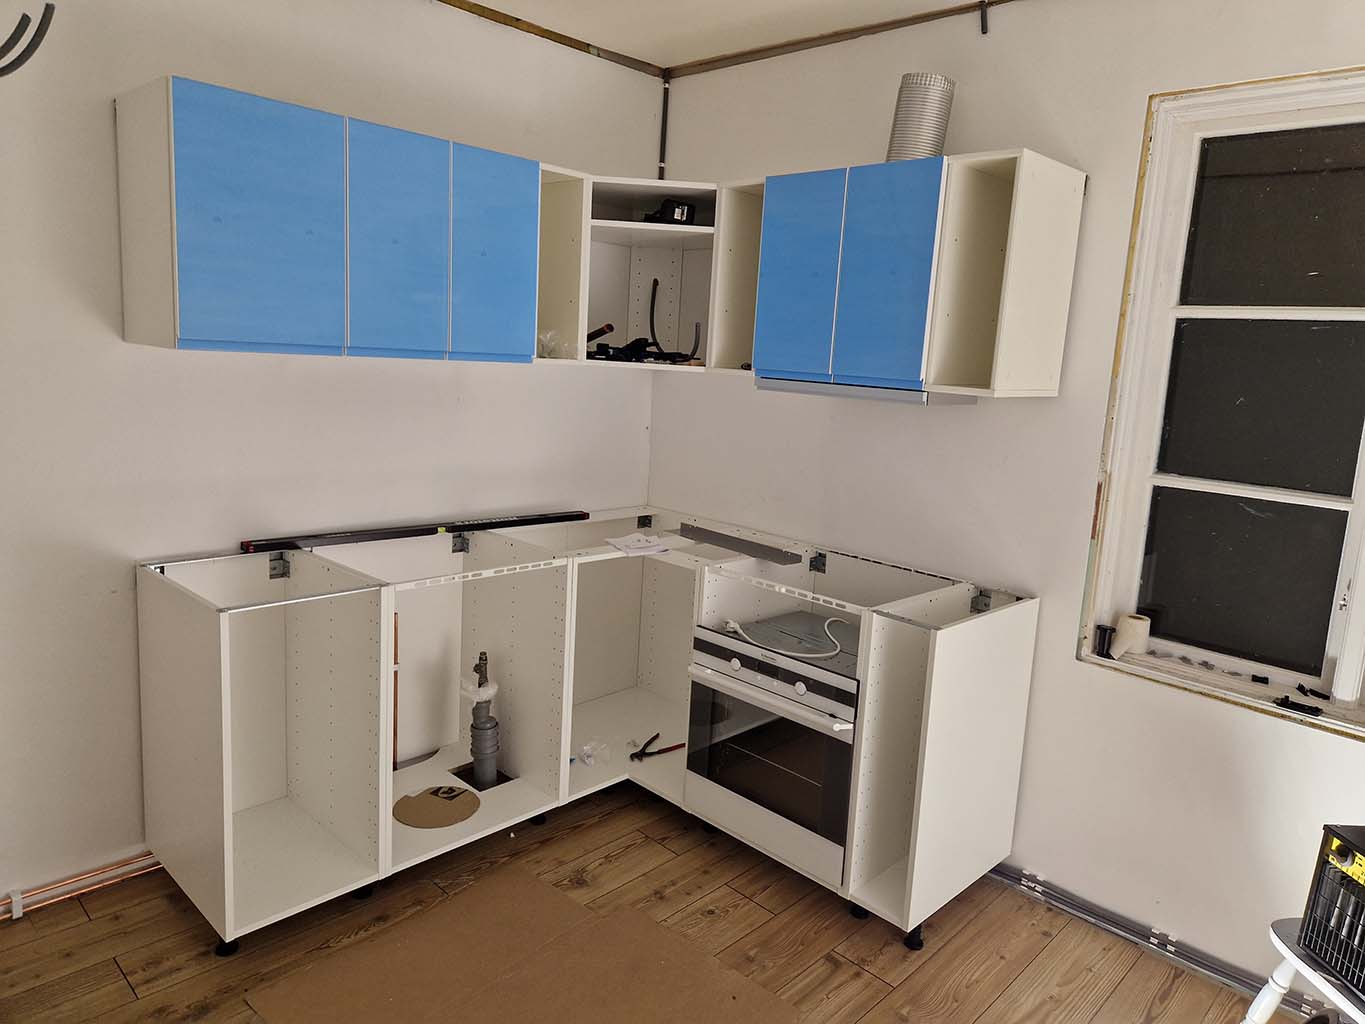
The refrigerator sidewall can be added.
-20241103
Adding the oven and the oven drawer showed clearance issues with electrical outlets.
Time to call the electrician.
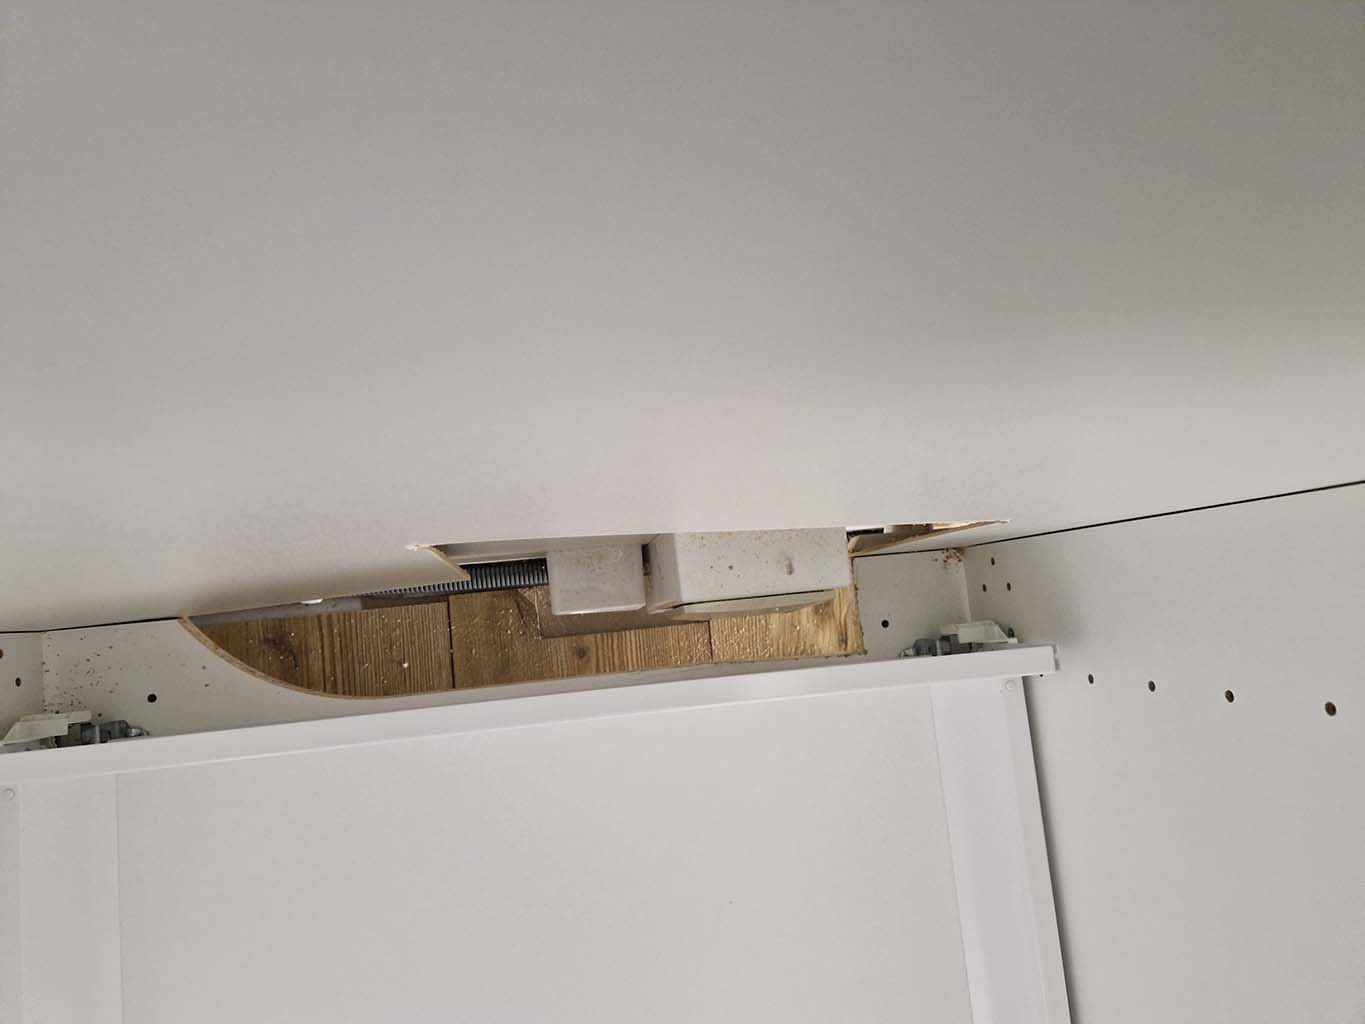
Top view.
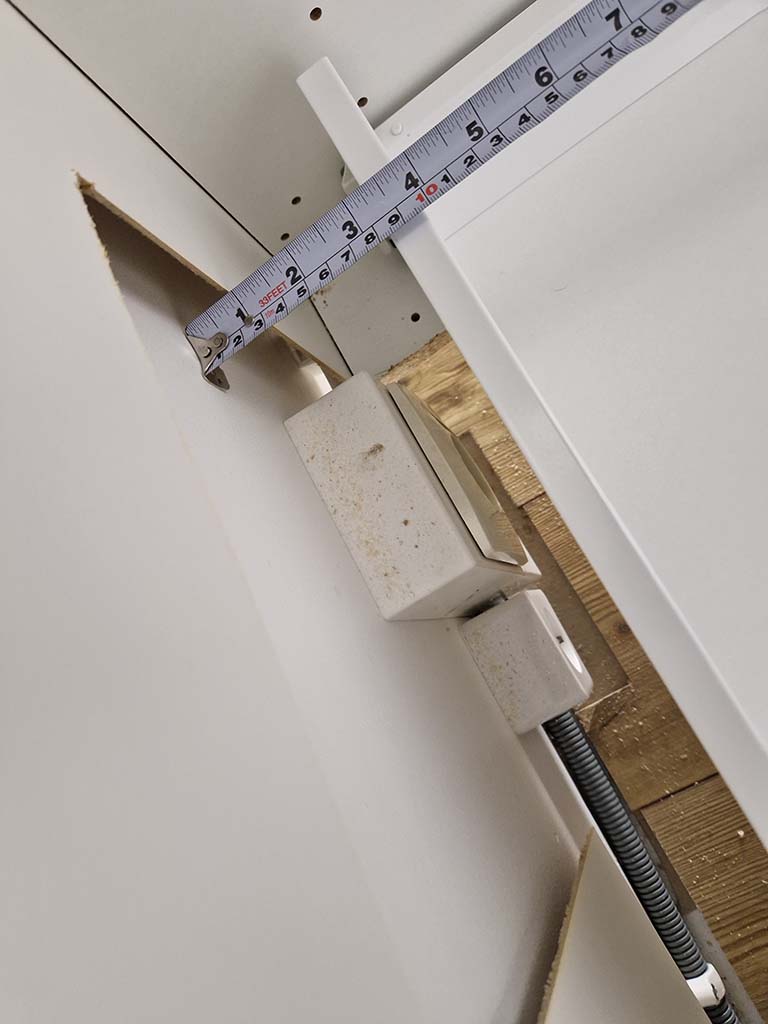
Clearance mesured.
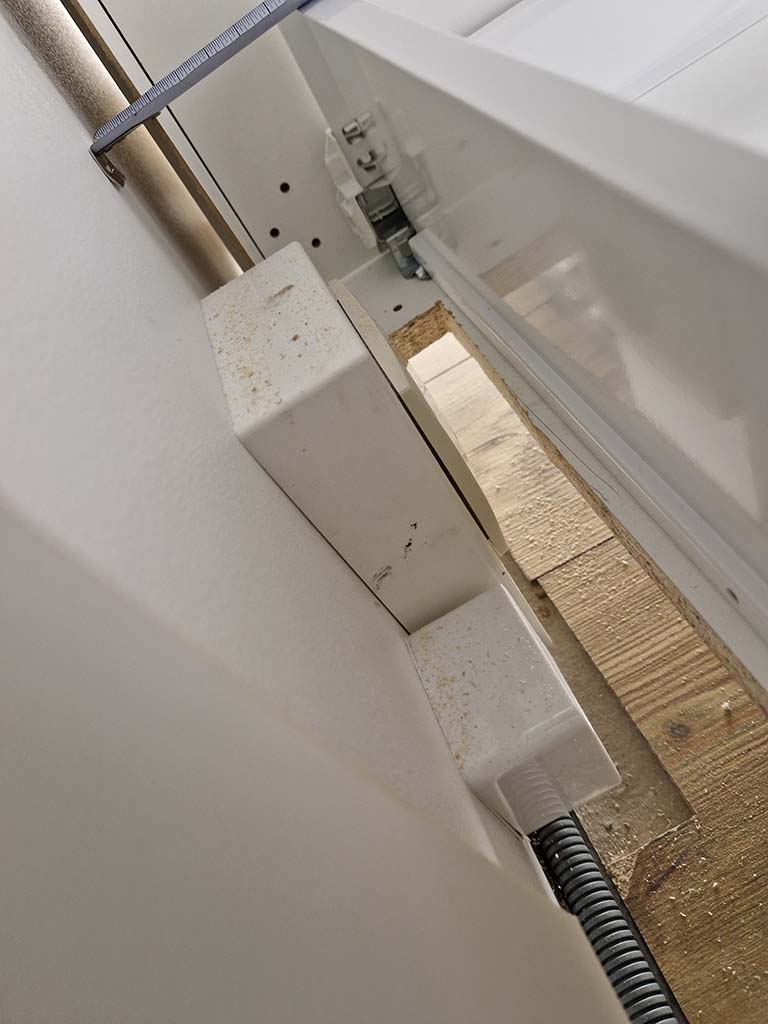
Perilex clash with drawer.
Besides clashing connectors, side cover panels were test mounted.

Side panels and doors mounted.
Time to leave the house for the winter. no more can be done for this year.
Snow storms are approaching.
-20250421
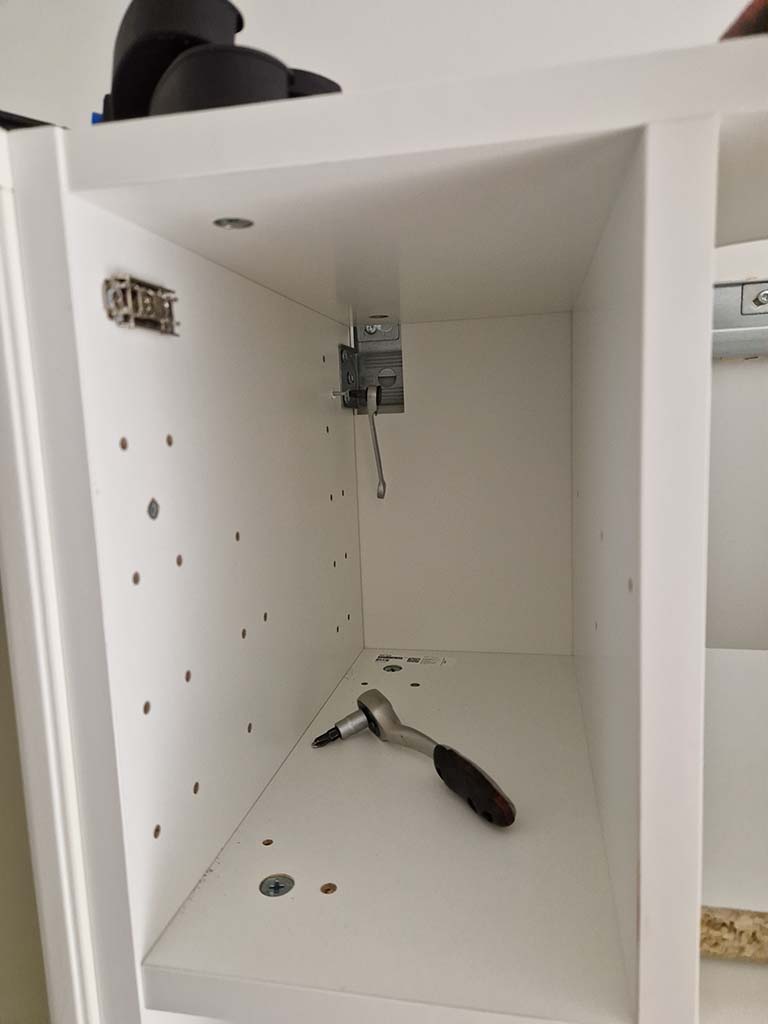
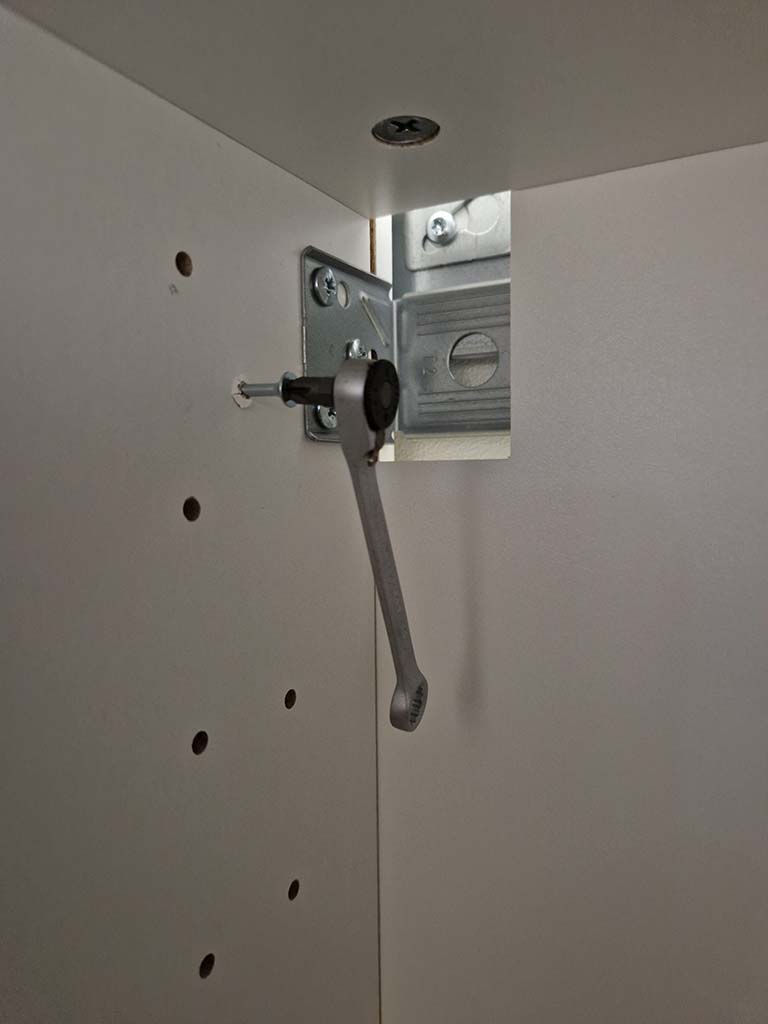
Back from a snowy winter, water heater cabinet is built
A supporting plate is added to the wall secured by several screws.
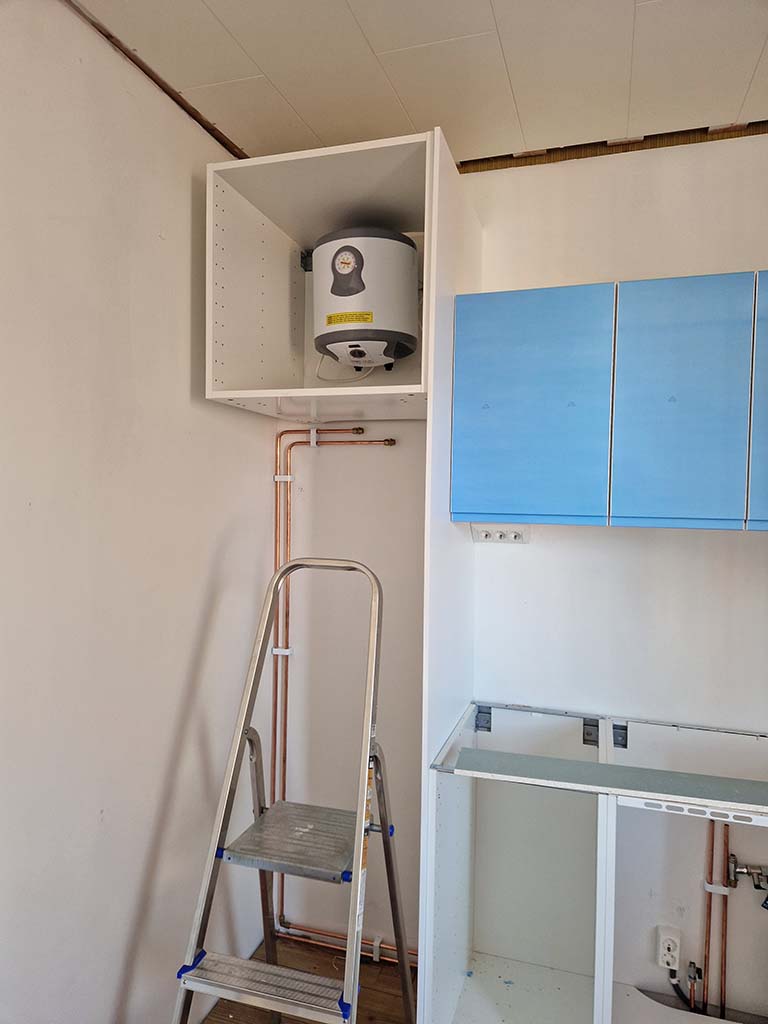
Securely mounted.
-20250426
Connected all tubes and hoses, tigthened all joints and mounted the cabinet to the sidewall and rail.
So far as possible, pipes tightened.
An assortment of wood pieces were cut to be used below countertop.
Corner to stove, check.
Stove front, check.
Stove from wall, check.
Basin from wall, check.
-20250427
Added some panels and doors. cleaned the entire workplace for the next stage.
Counter tops can now be cut and installed
Time for countertops.
-20250509
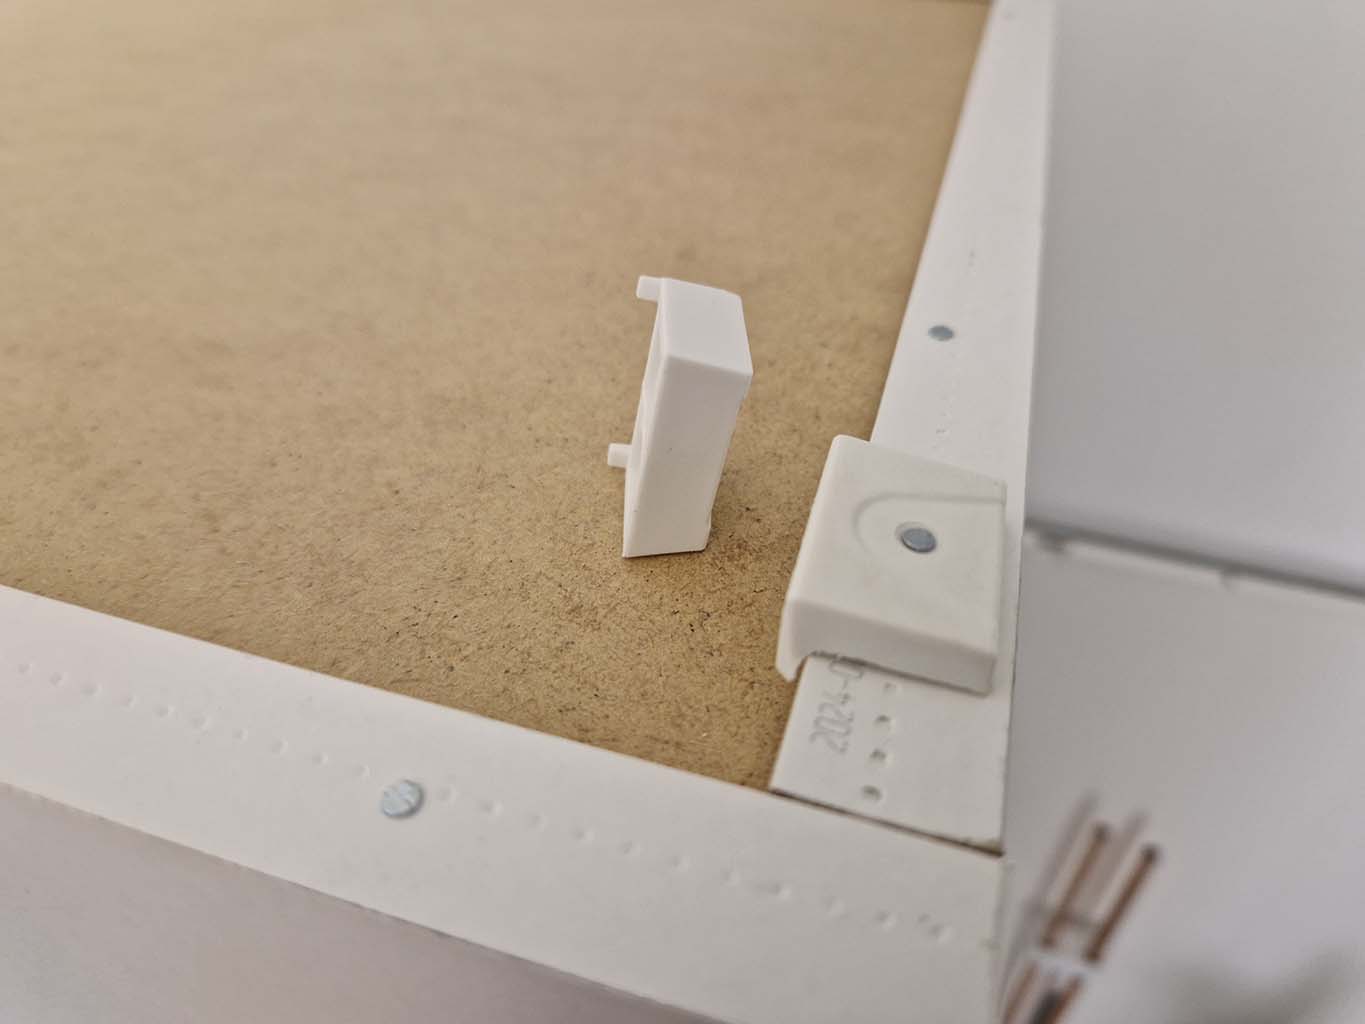
A lesson learned, adding bumpstops to cabinets was not so
useful in the long run.
The backwards leaning if all surfaces that I tried to save with wood pieces was not rometely the correct way to adjust the cointertops.
I suspected the lower bunpstops andd perhaps the awkeward outward bending of the wondow wall caused a lot of issues.
All has to be removed, bumpstops deleted and height/distance to wall for
window wall rail needed, also some level adjustement.
Sides, stove, removed.
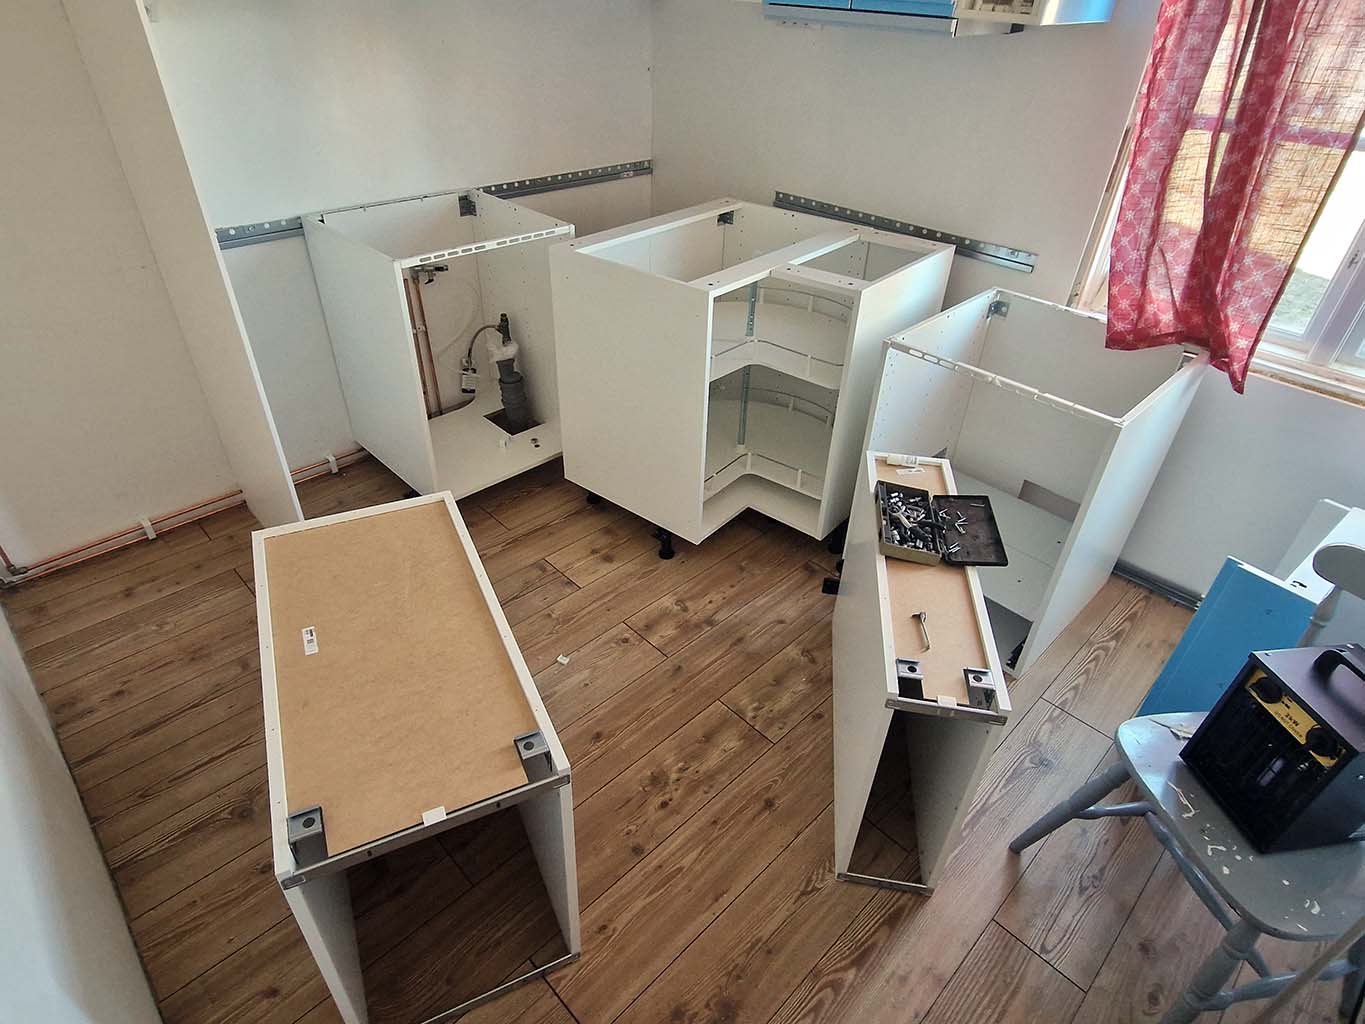
Corner cabinet removed.
bumpstops deleted, need to see if anything needs to be used as substitution.
All bumpstops removed.
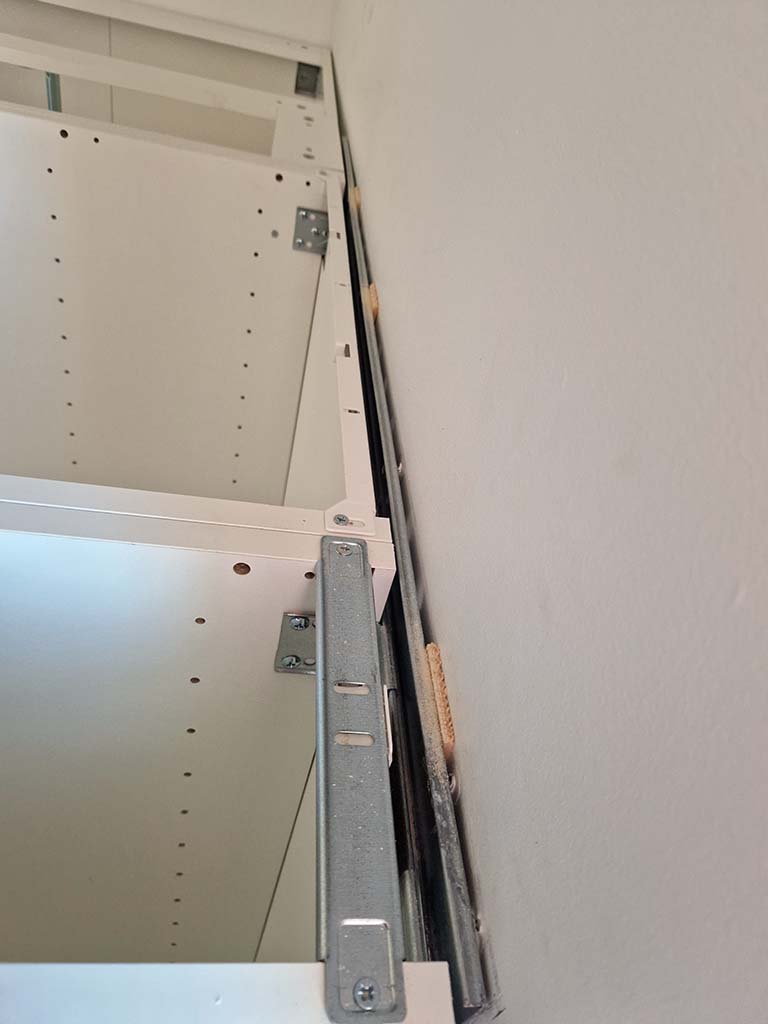
The rail can be offset bfrom the wall with wooden pieces.
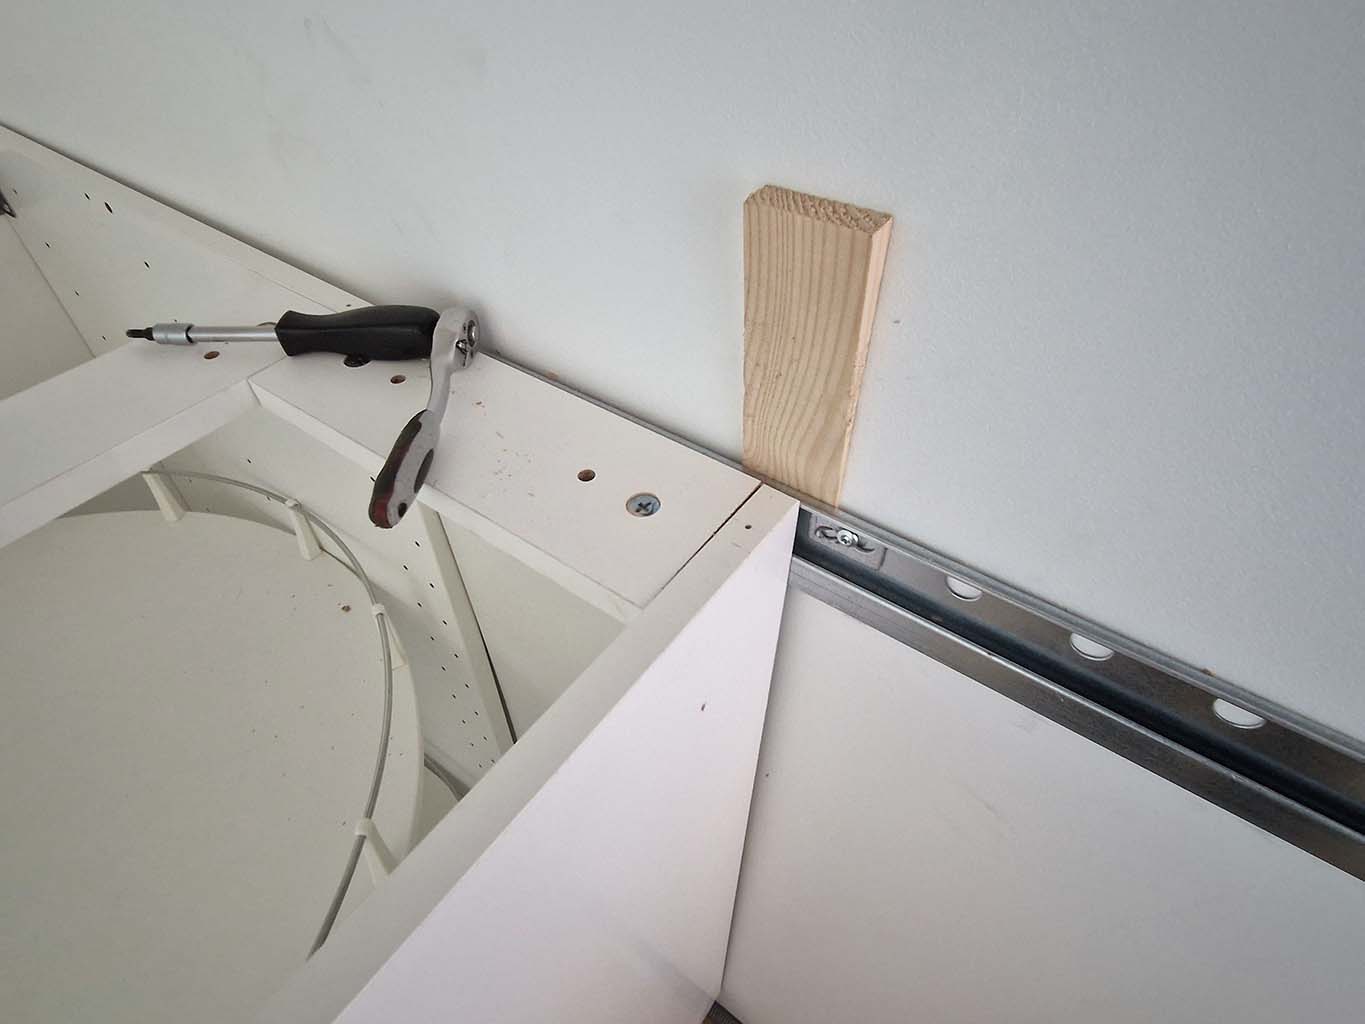
First corner wall cabinet adjustment.
Not excessively pushed out.
It is all now level without wooden standoffs, now it is hanging on the rails but only supported by the front feet on the cabinets.
Perhaps need to create wooden
wedges.
Perhaps now it is time for countertops.
TBC
-20250427